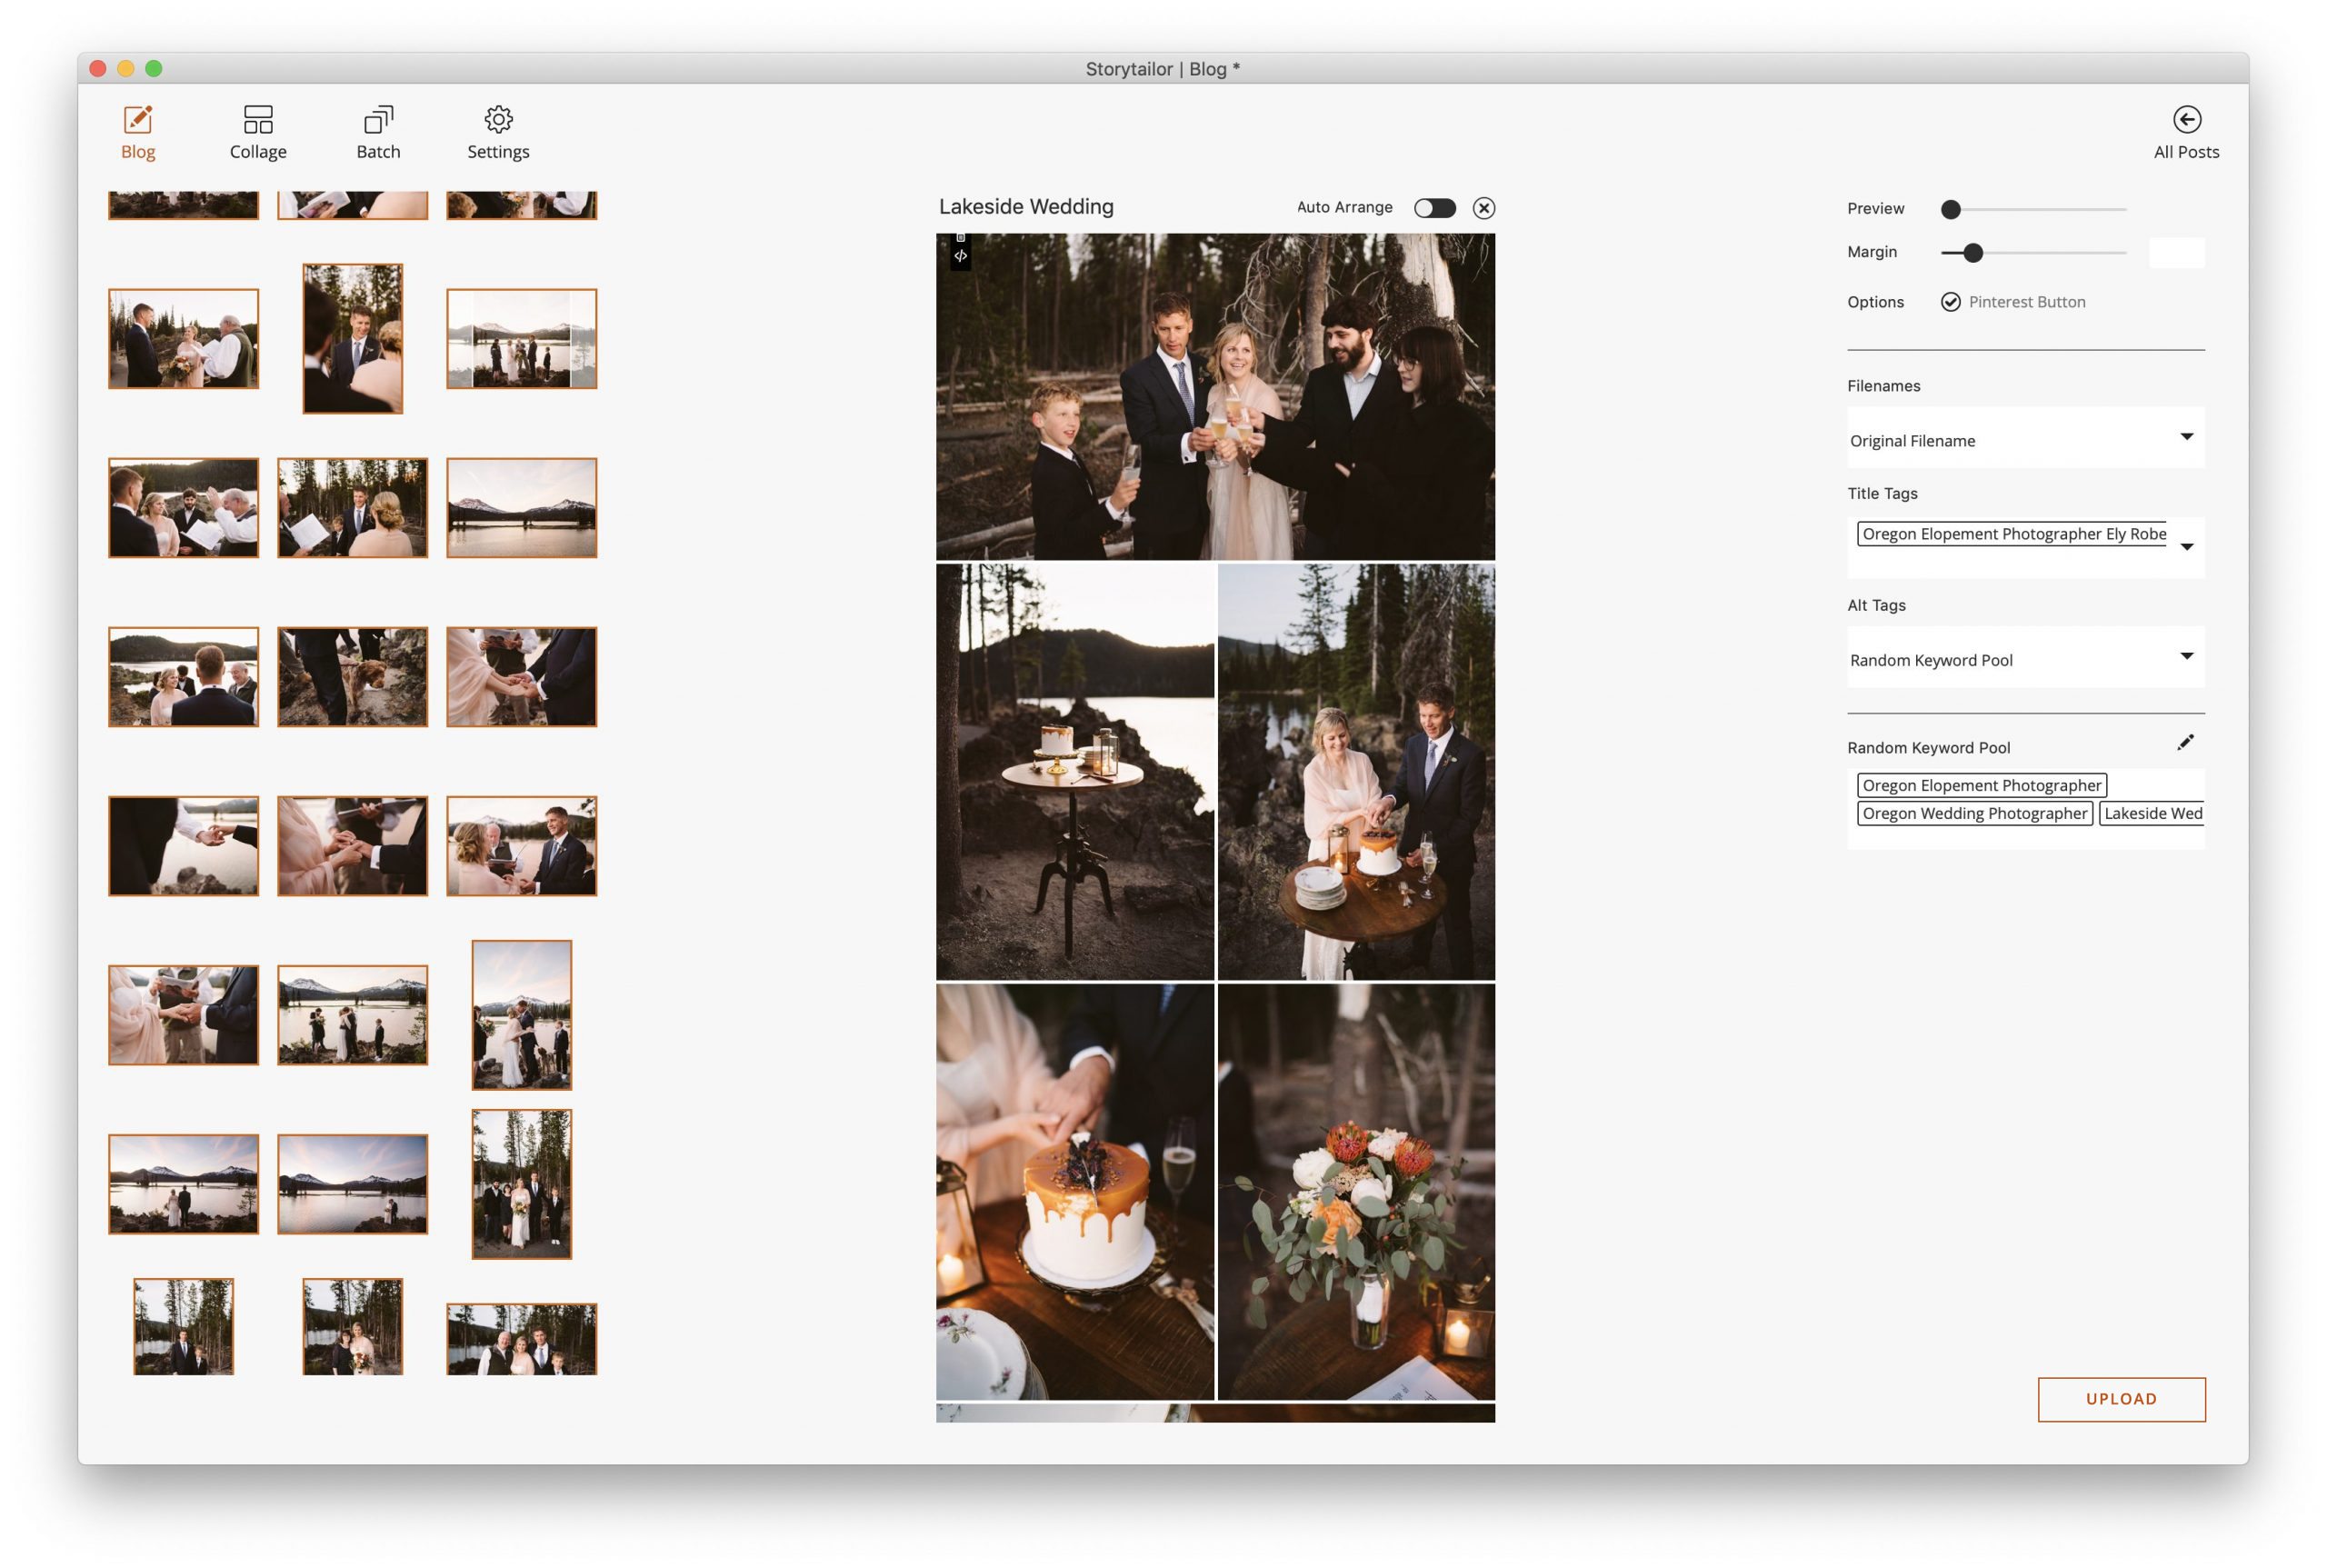
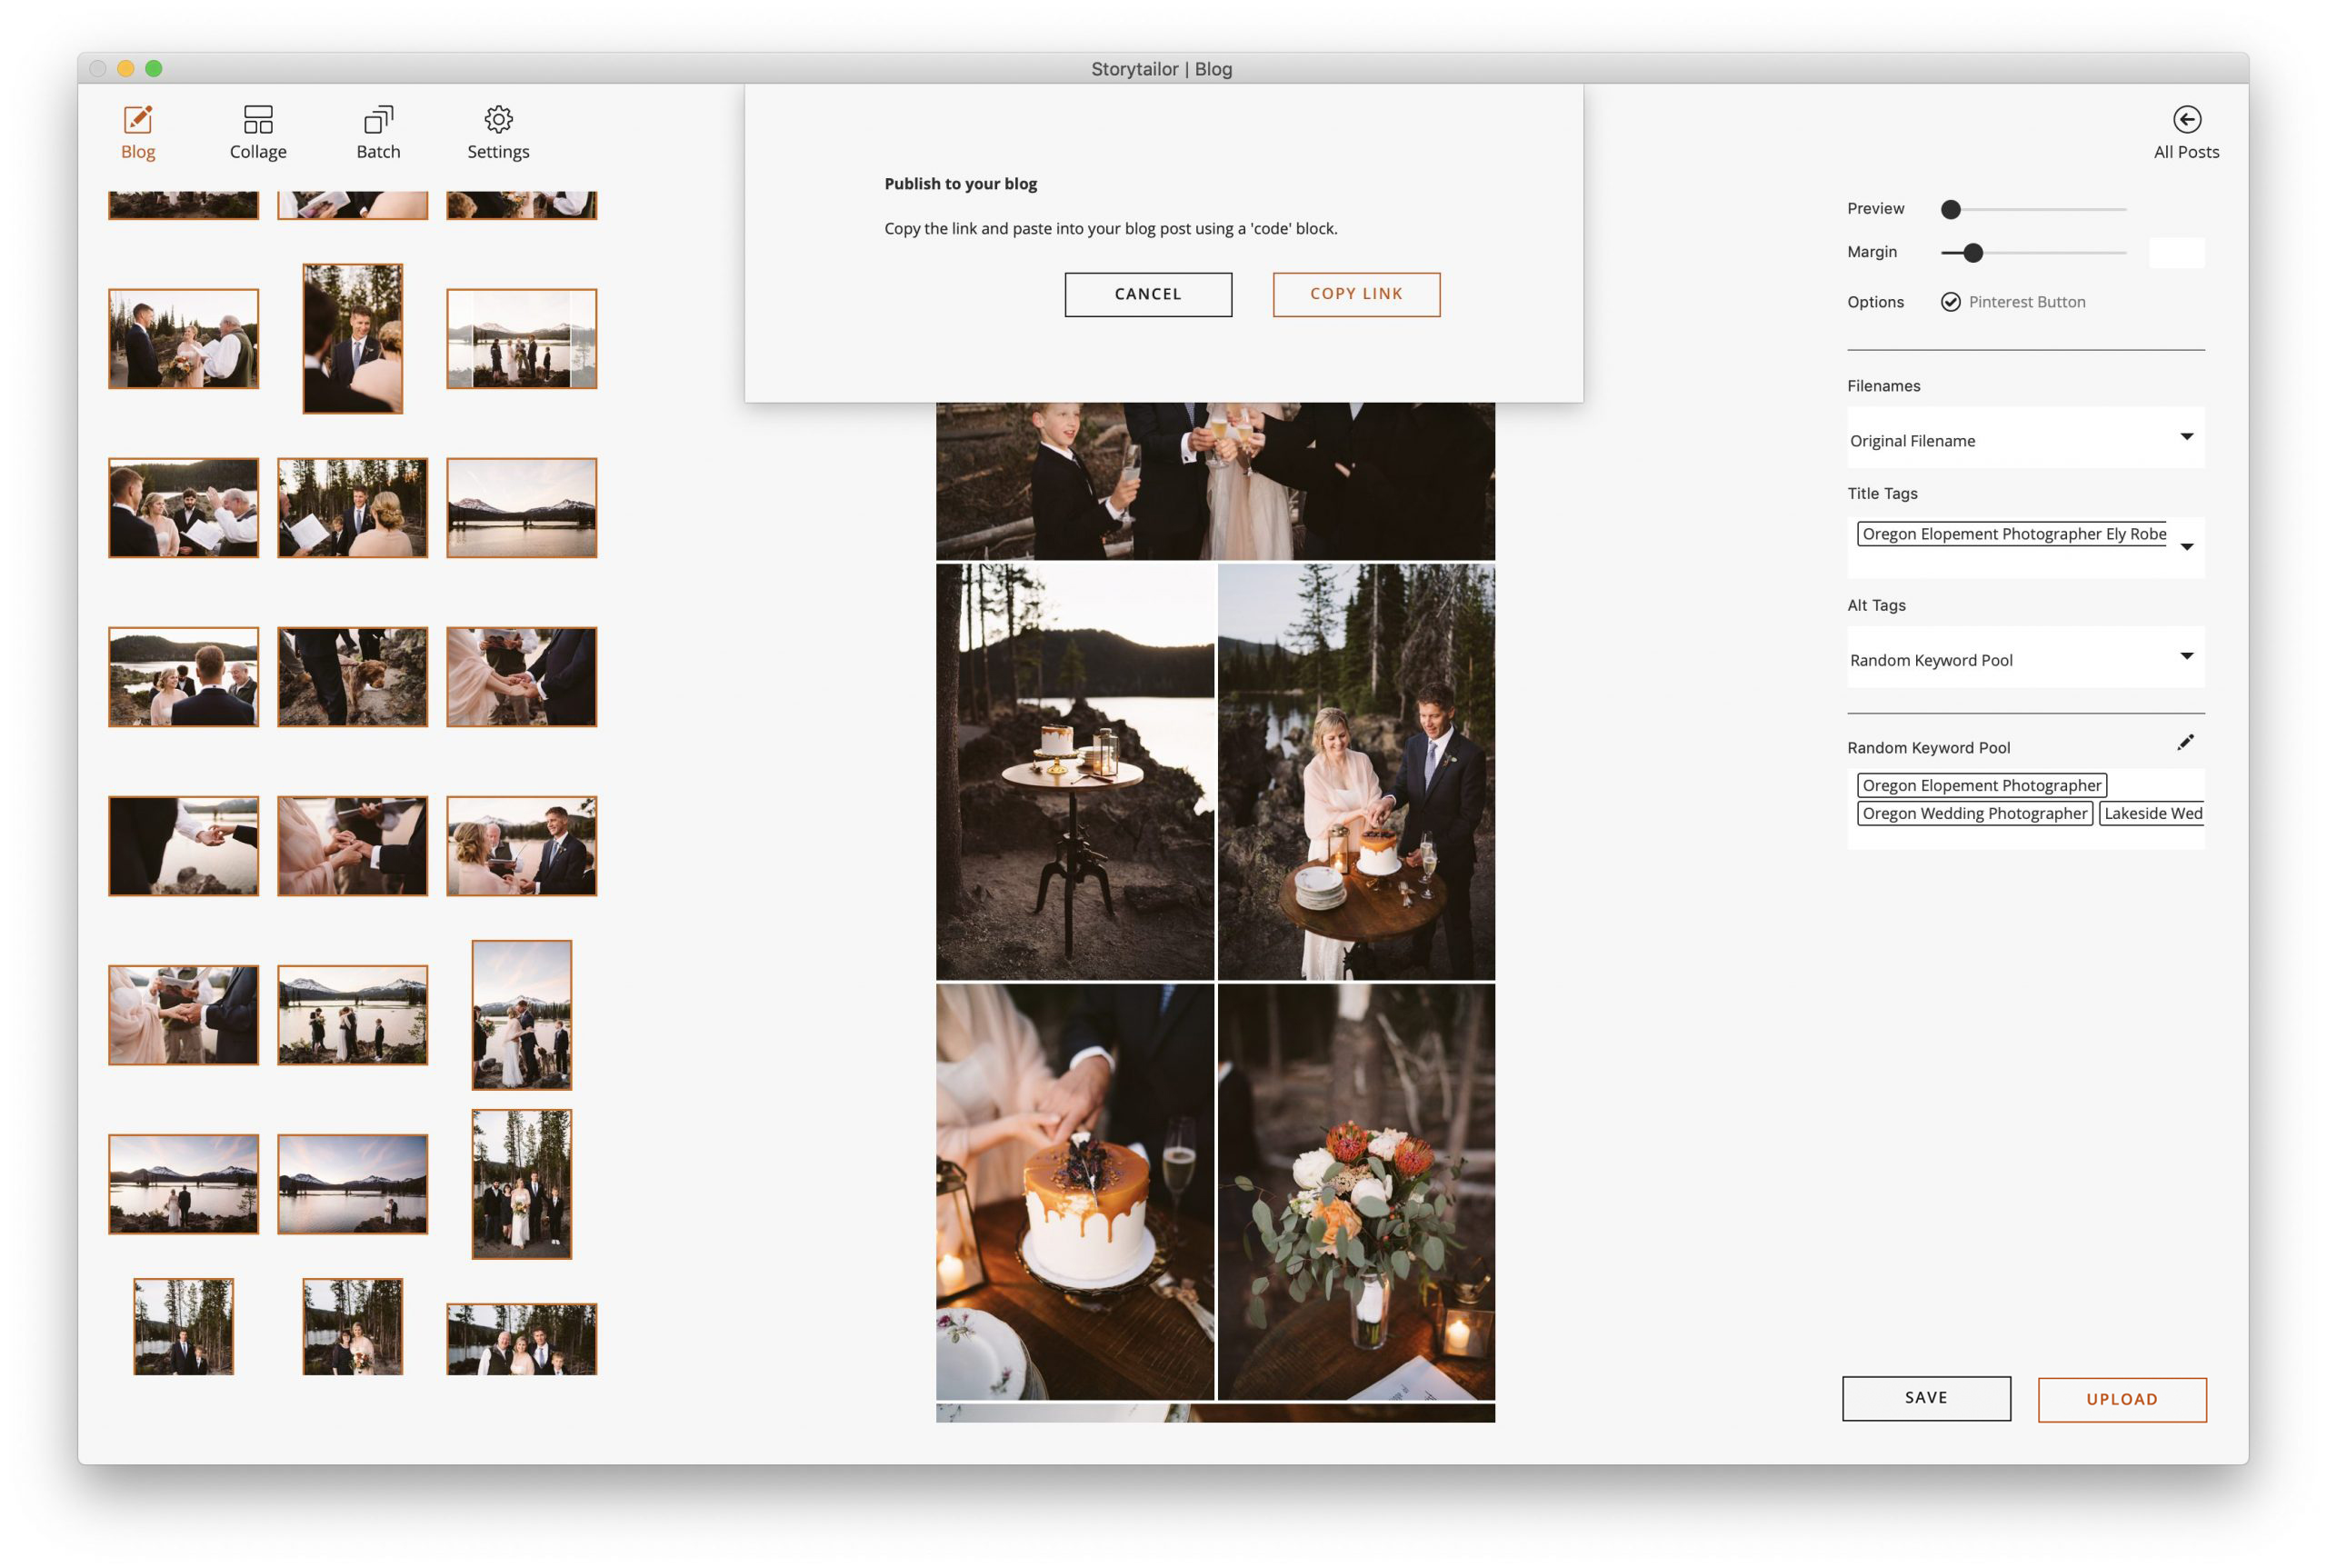
To prepare your Storytailor blog posts for publishing, arrange the images the way you want them in Blog and then click “Upload”.
In the next window, pick your destination.
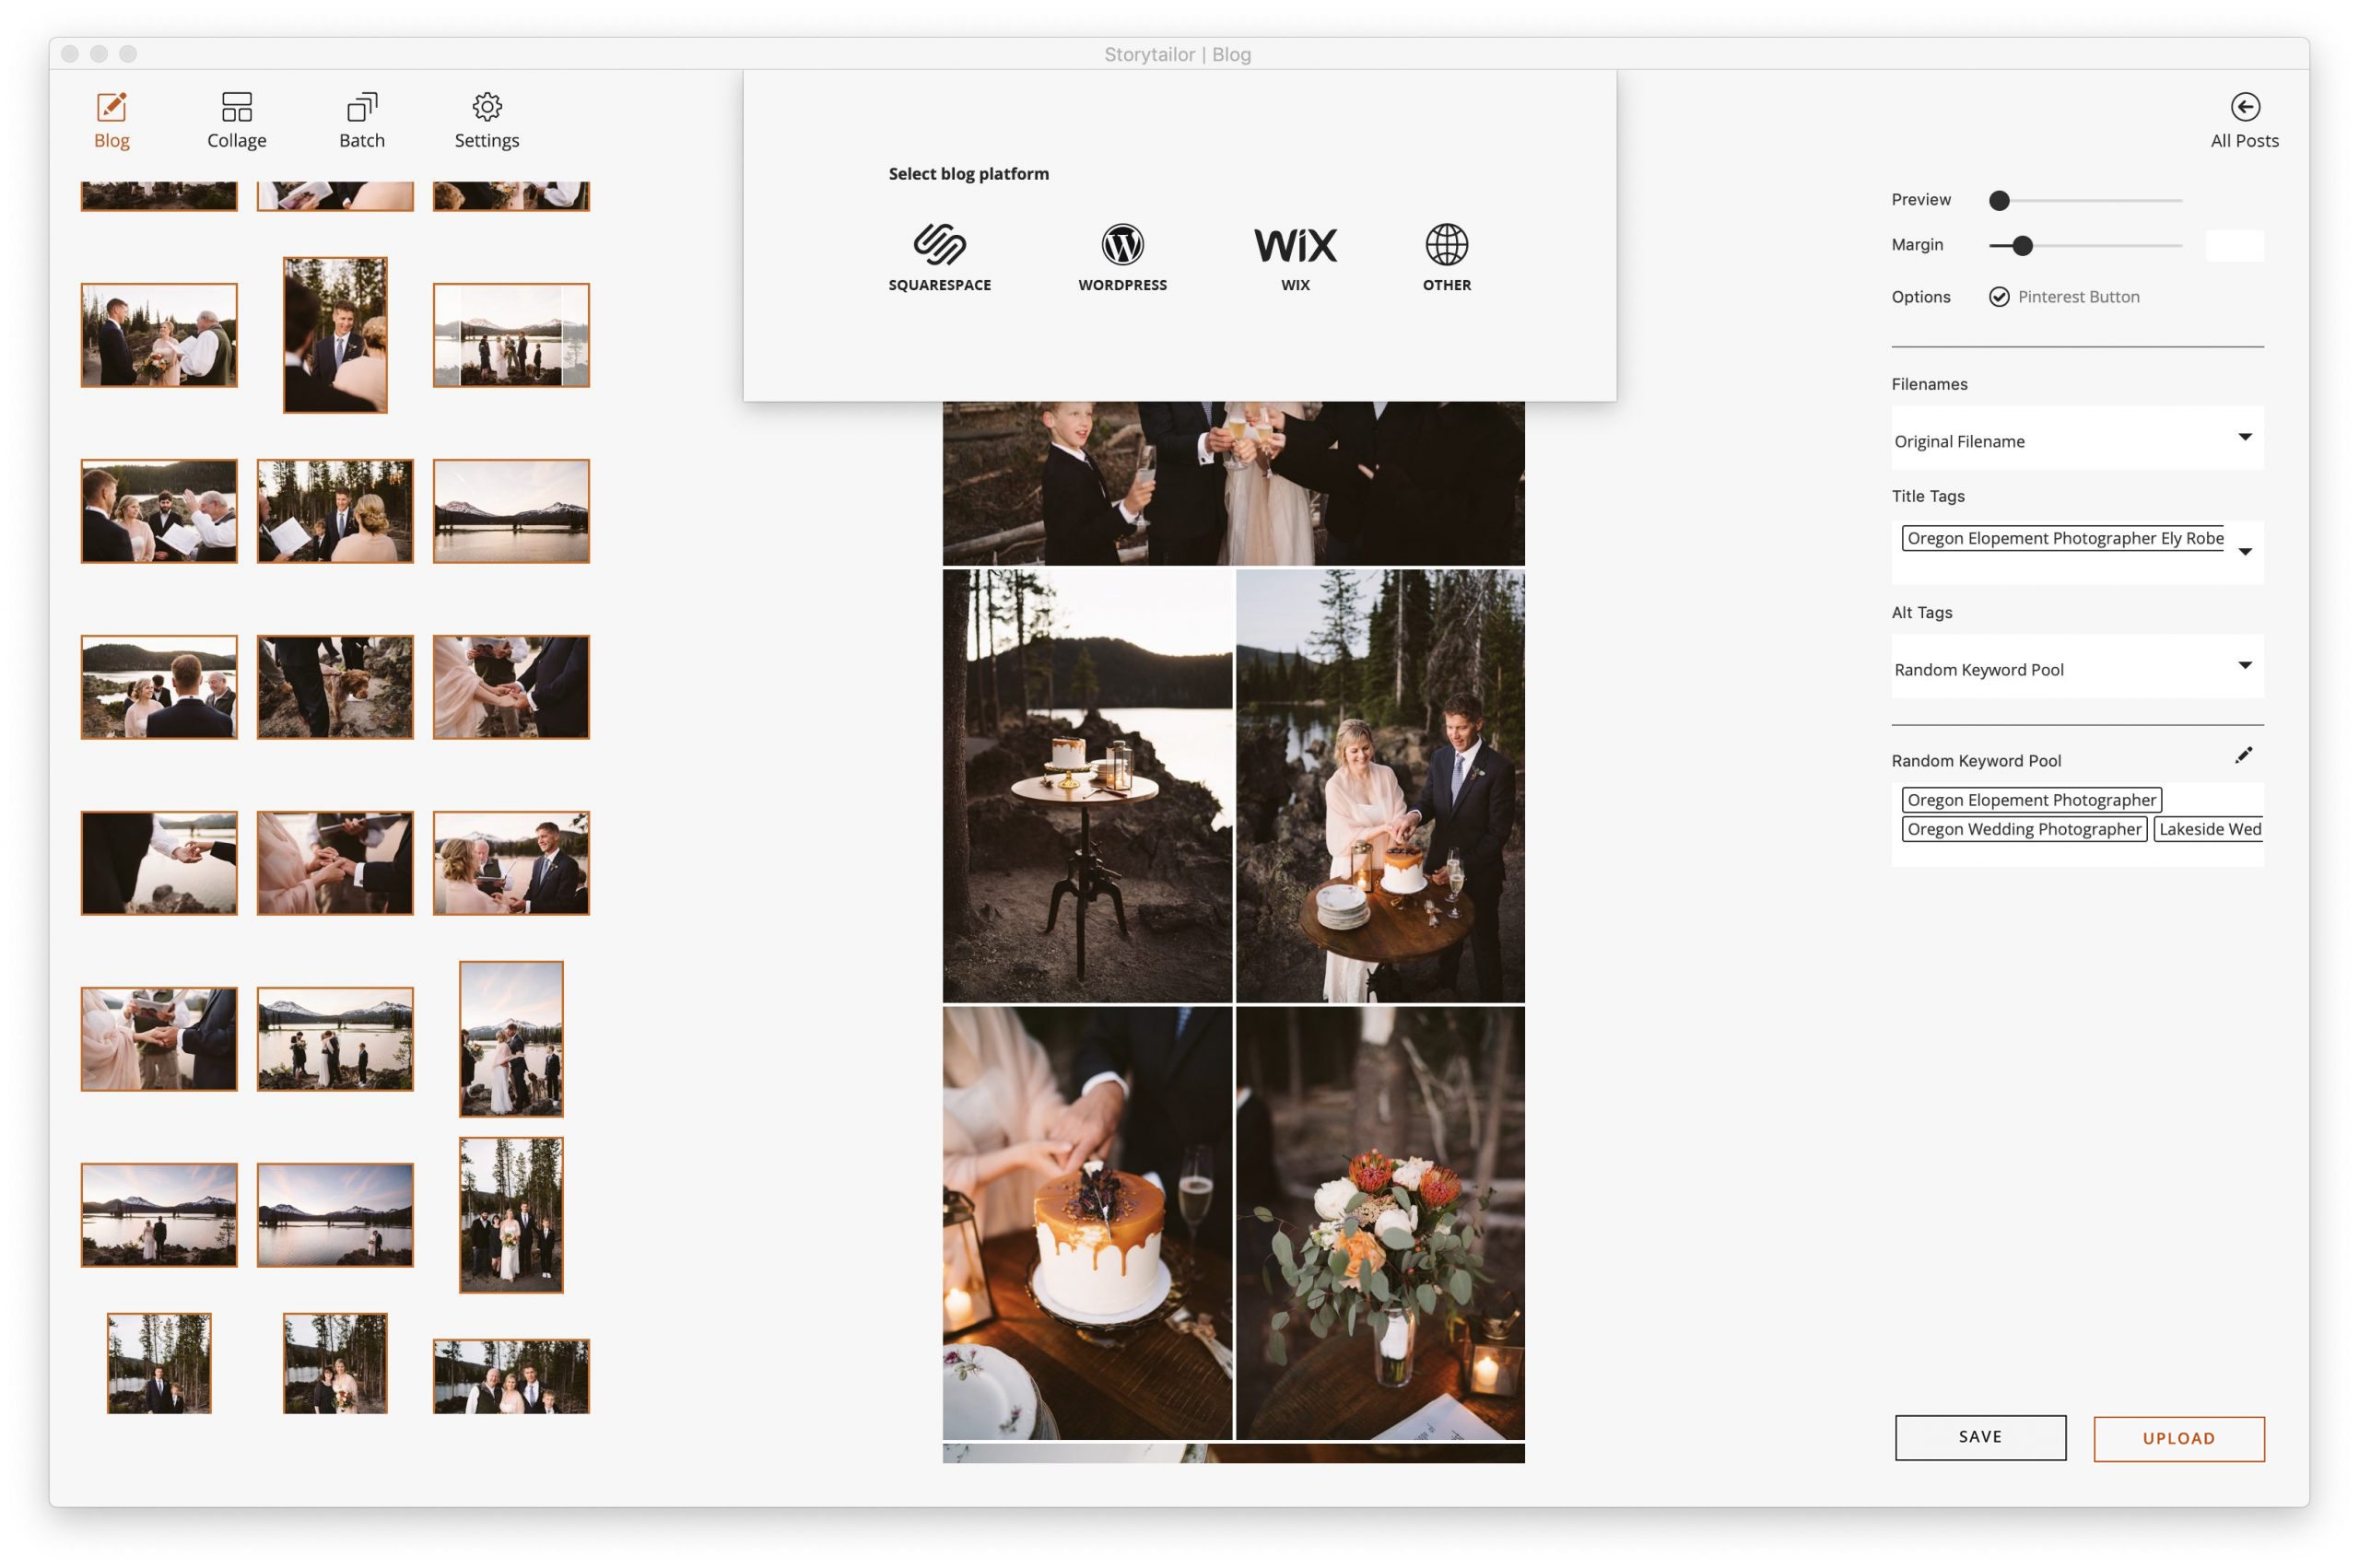
WordPress
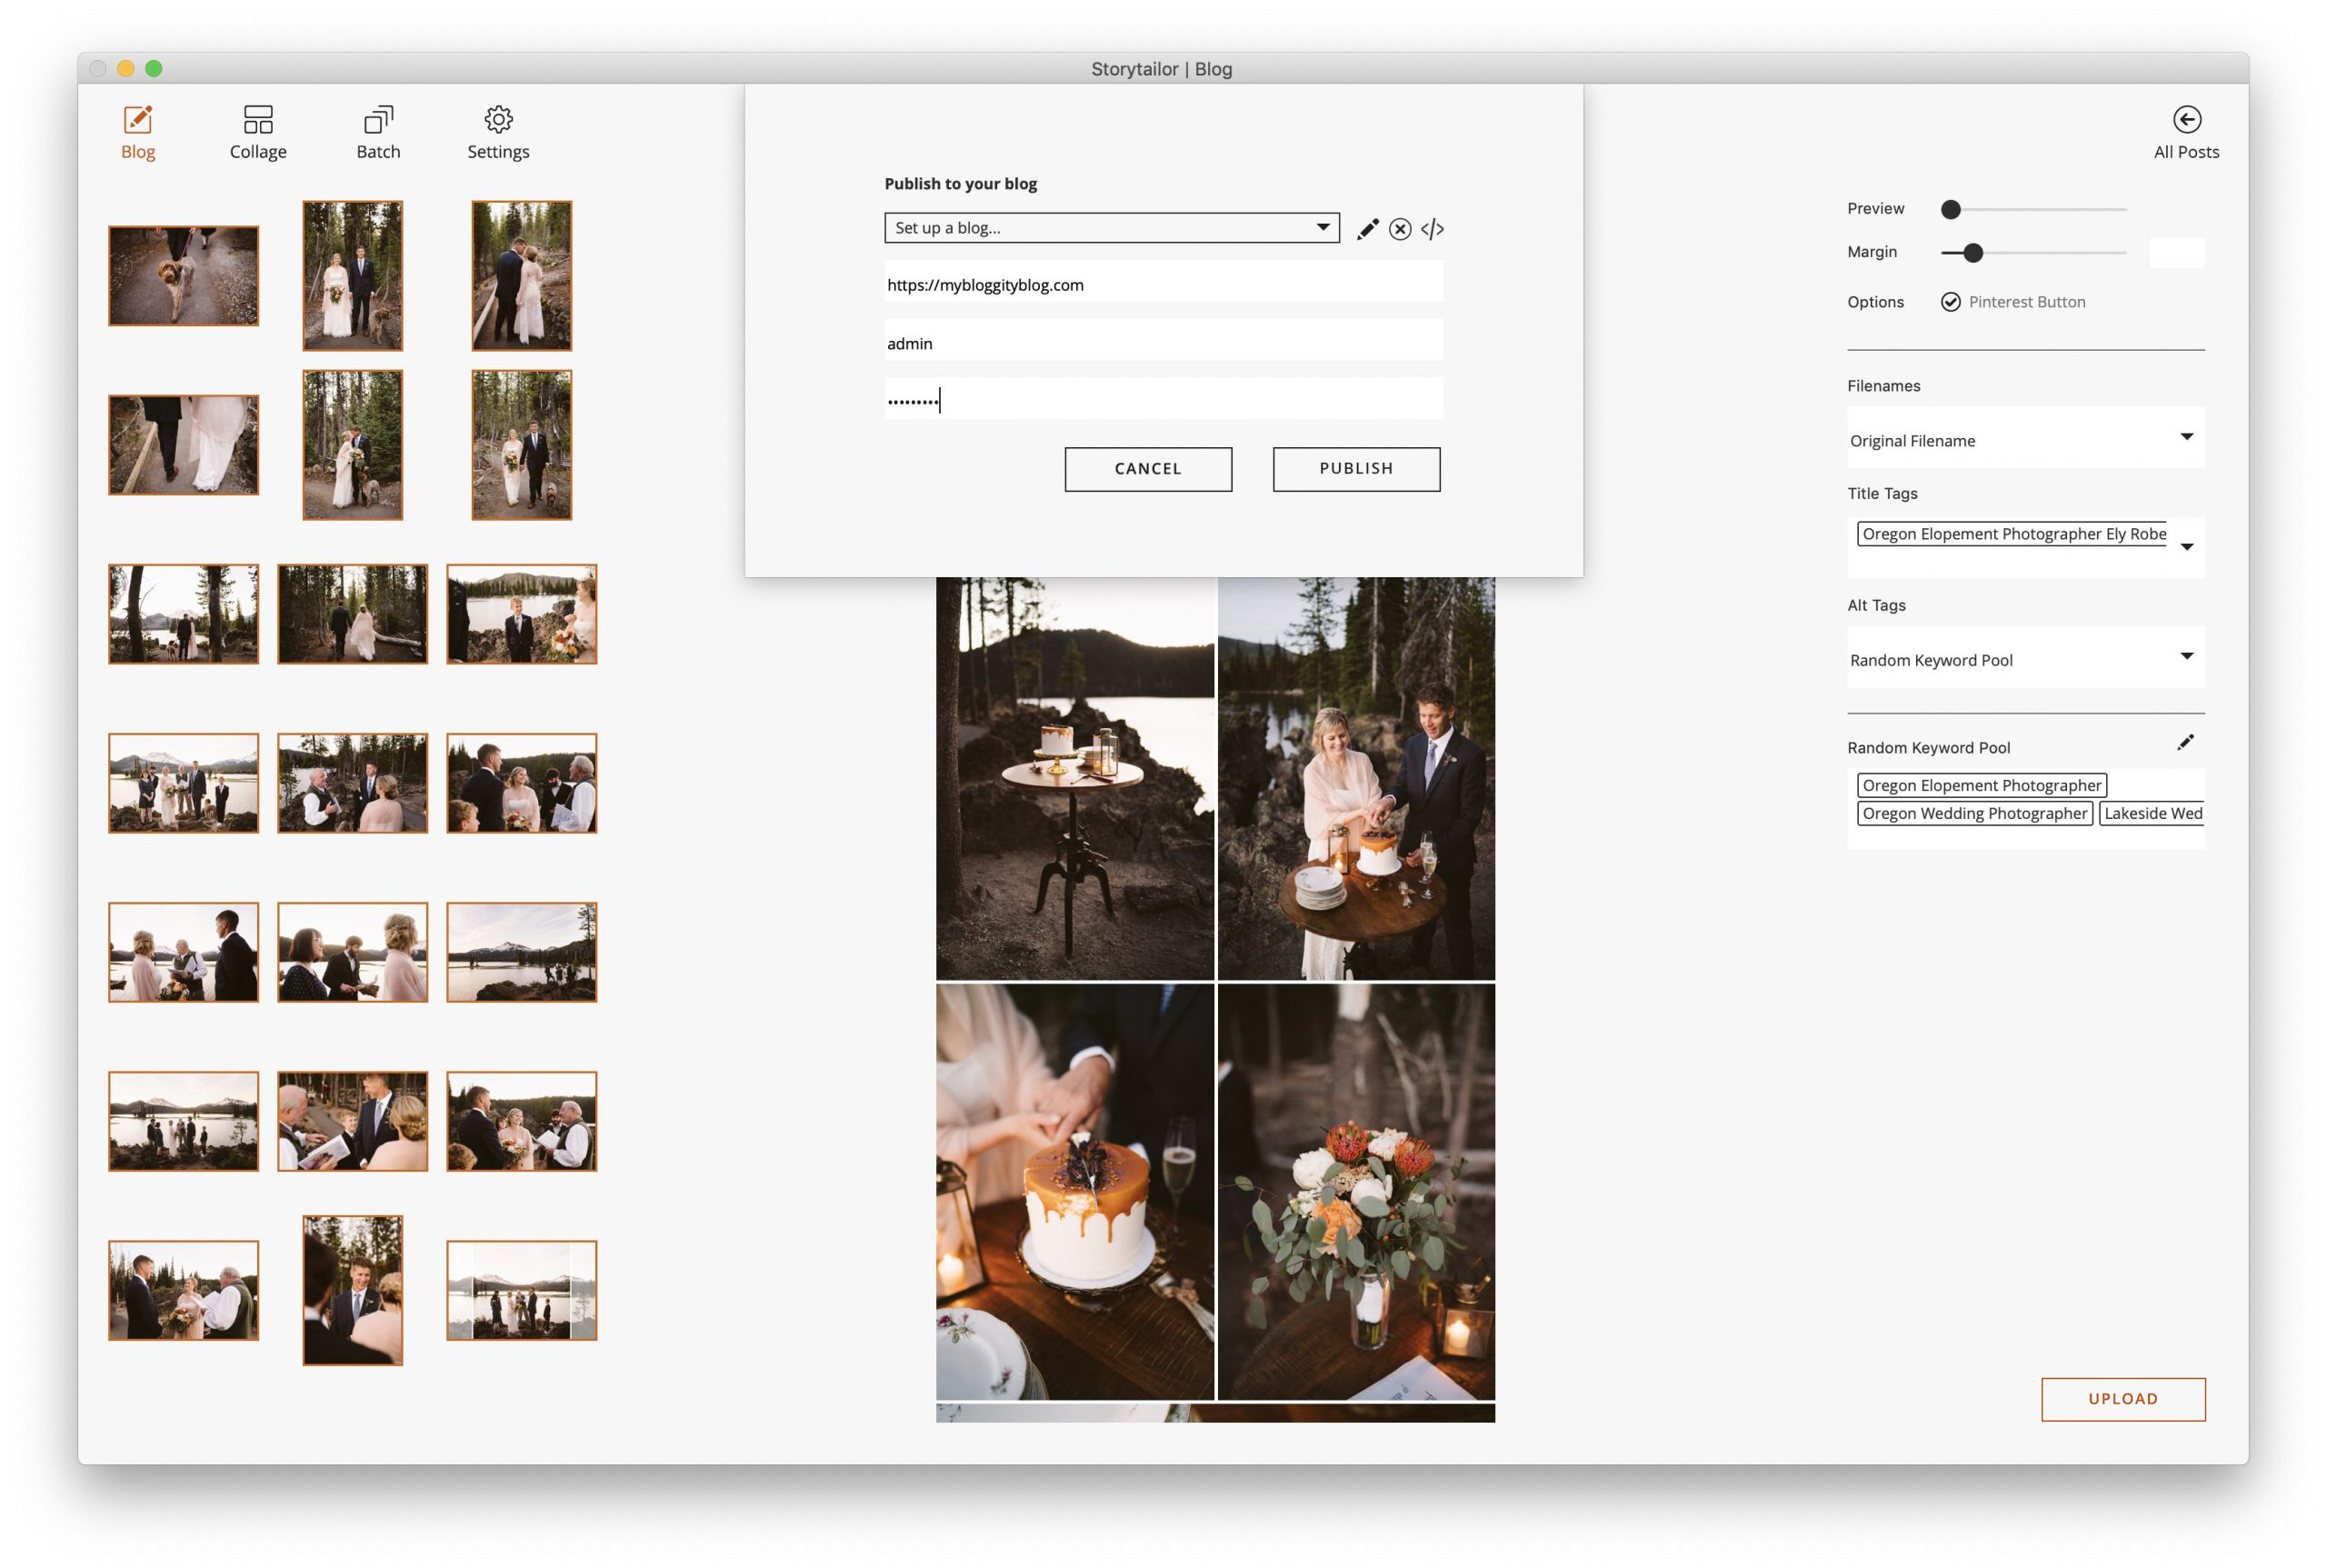
Most WordPress blogs have remote publishing enabled by default, which makes your job easy. There’s nothing to do but test the connection between Storytailor and your blog. Select WordPress from the options, enter your blog details (URL, username, password etc), and hit the ‘Upload’ button.
Please be aware that you’ll need to have the Gutenberg editor enabled in order to publish directly to your WordPress blog. If you’re on WordPress 5 or newer, but have a “Disable Gutenberg” plugin installed so you can use the classic editor, you’ll need to disable this plugin.
*NOTE* If you use a WordPress.com blog, you won’t be able to upload and publish in this manner. You will either need to upgrade your WordPress.com site to a “Business” plan, or publish manually though WordPress’s back-end. *CLICK HERE* to learn how to publish to a WordPress.com site.
Squarespace
Squarespace doesn’t facilitate direct publishing the way WordPress does, but we’ve made it super-easy, with only a few clicks. Select Squarespace from the options, then copy the provided code.
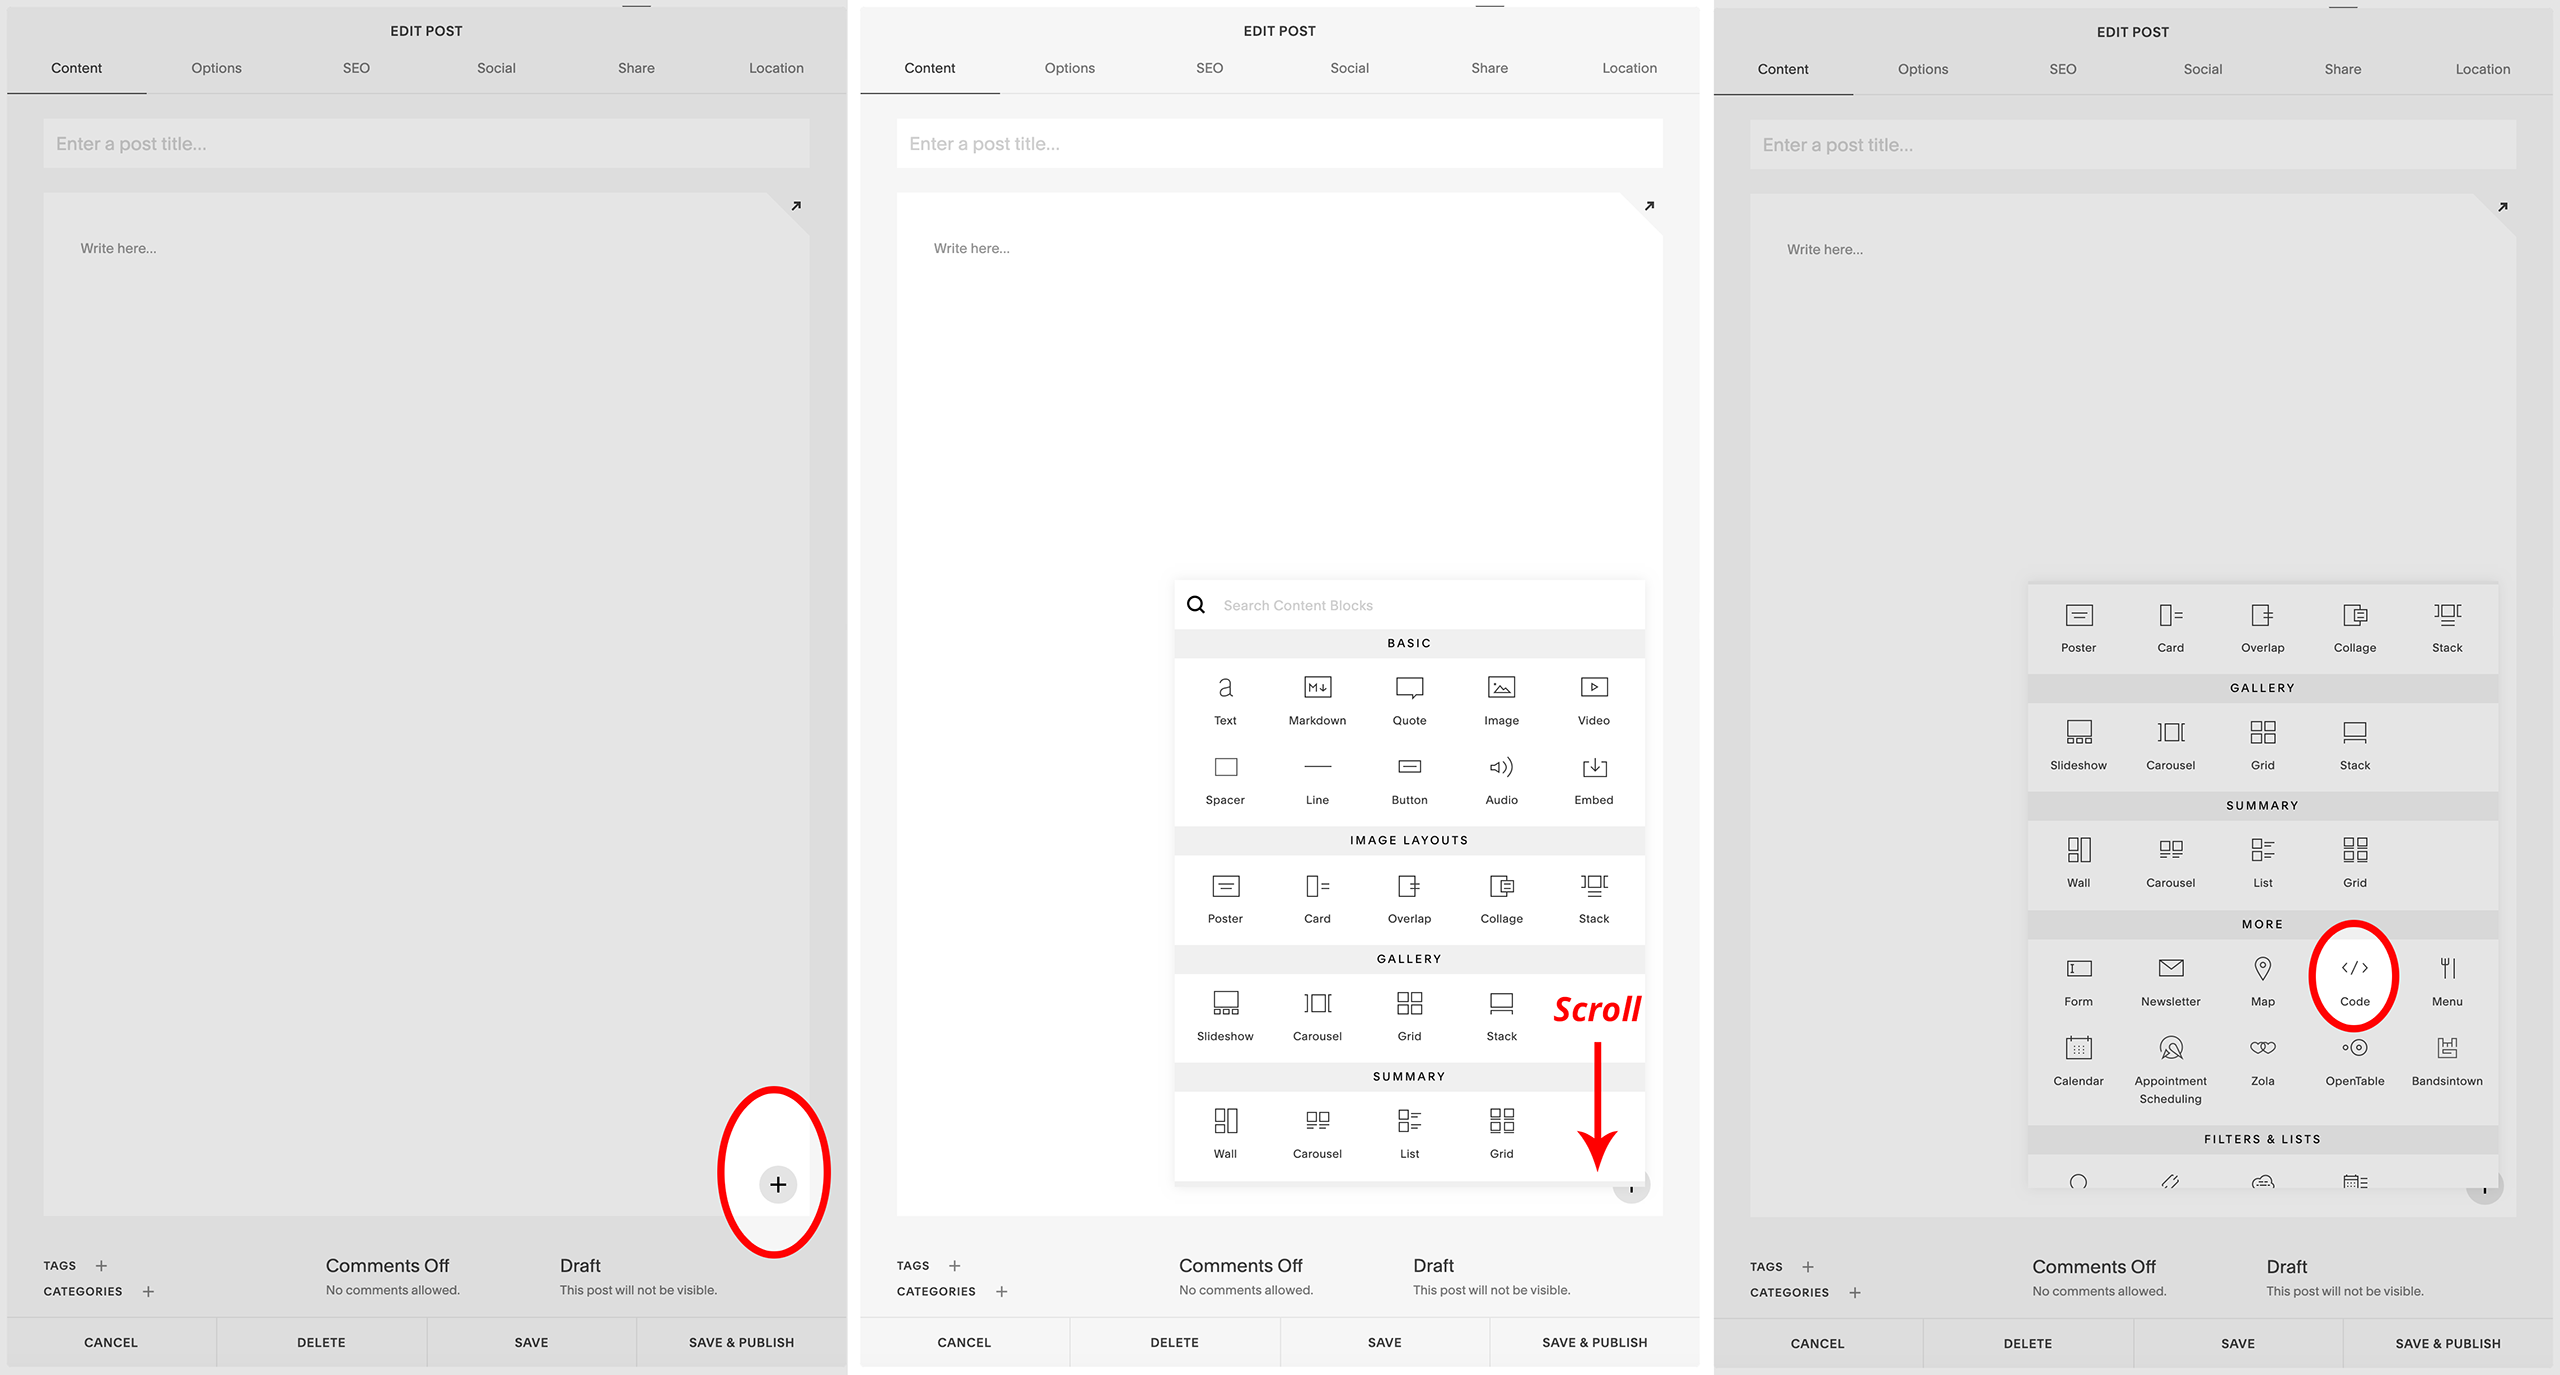
In Squarespace, create a new blog post and click the + button. Scroll down to find the “Code” option and select it.
*NOTE* If you are using a Squarespace “Personal” plan, you will not be able to publish in this way. You’ll either need to upgrade to a Squarespace “Business” plan, or export JPGs and compose your blog post in Squarespace.
Paste in the code that Storytailor generated for you and click Apply. From here you can preview and publish your blog post.

Wix
Wix doesn’t facilitate direct publishing the way WordPress does, but we’ve made it super-easy, with only a few clicks. Select Wix from the options, then copy the provided code.
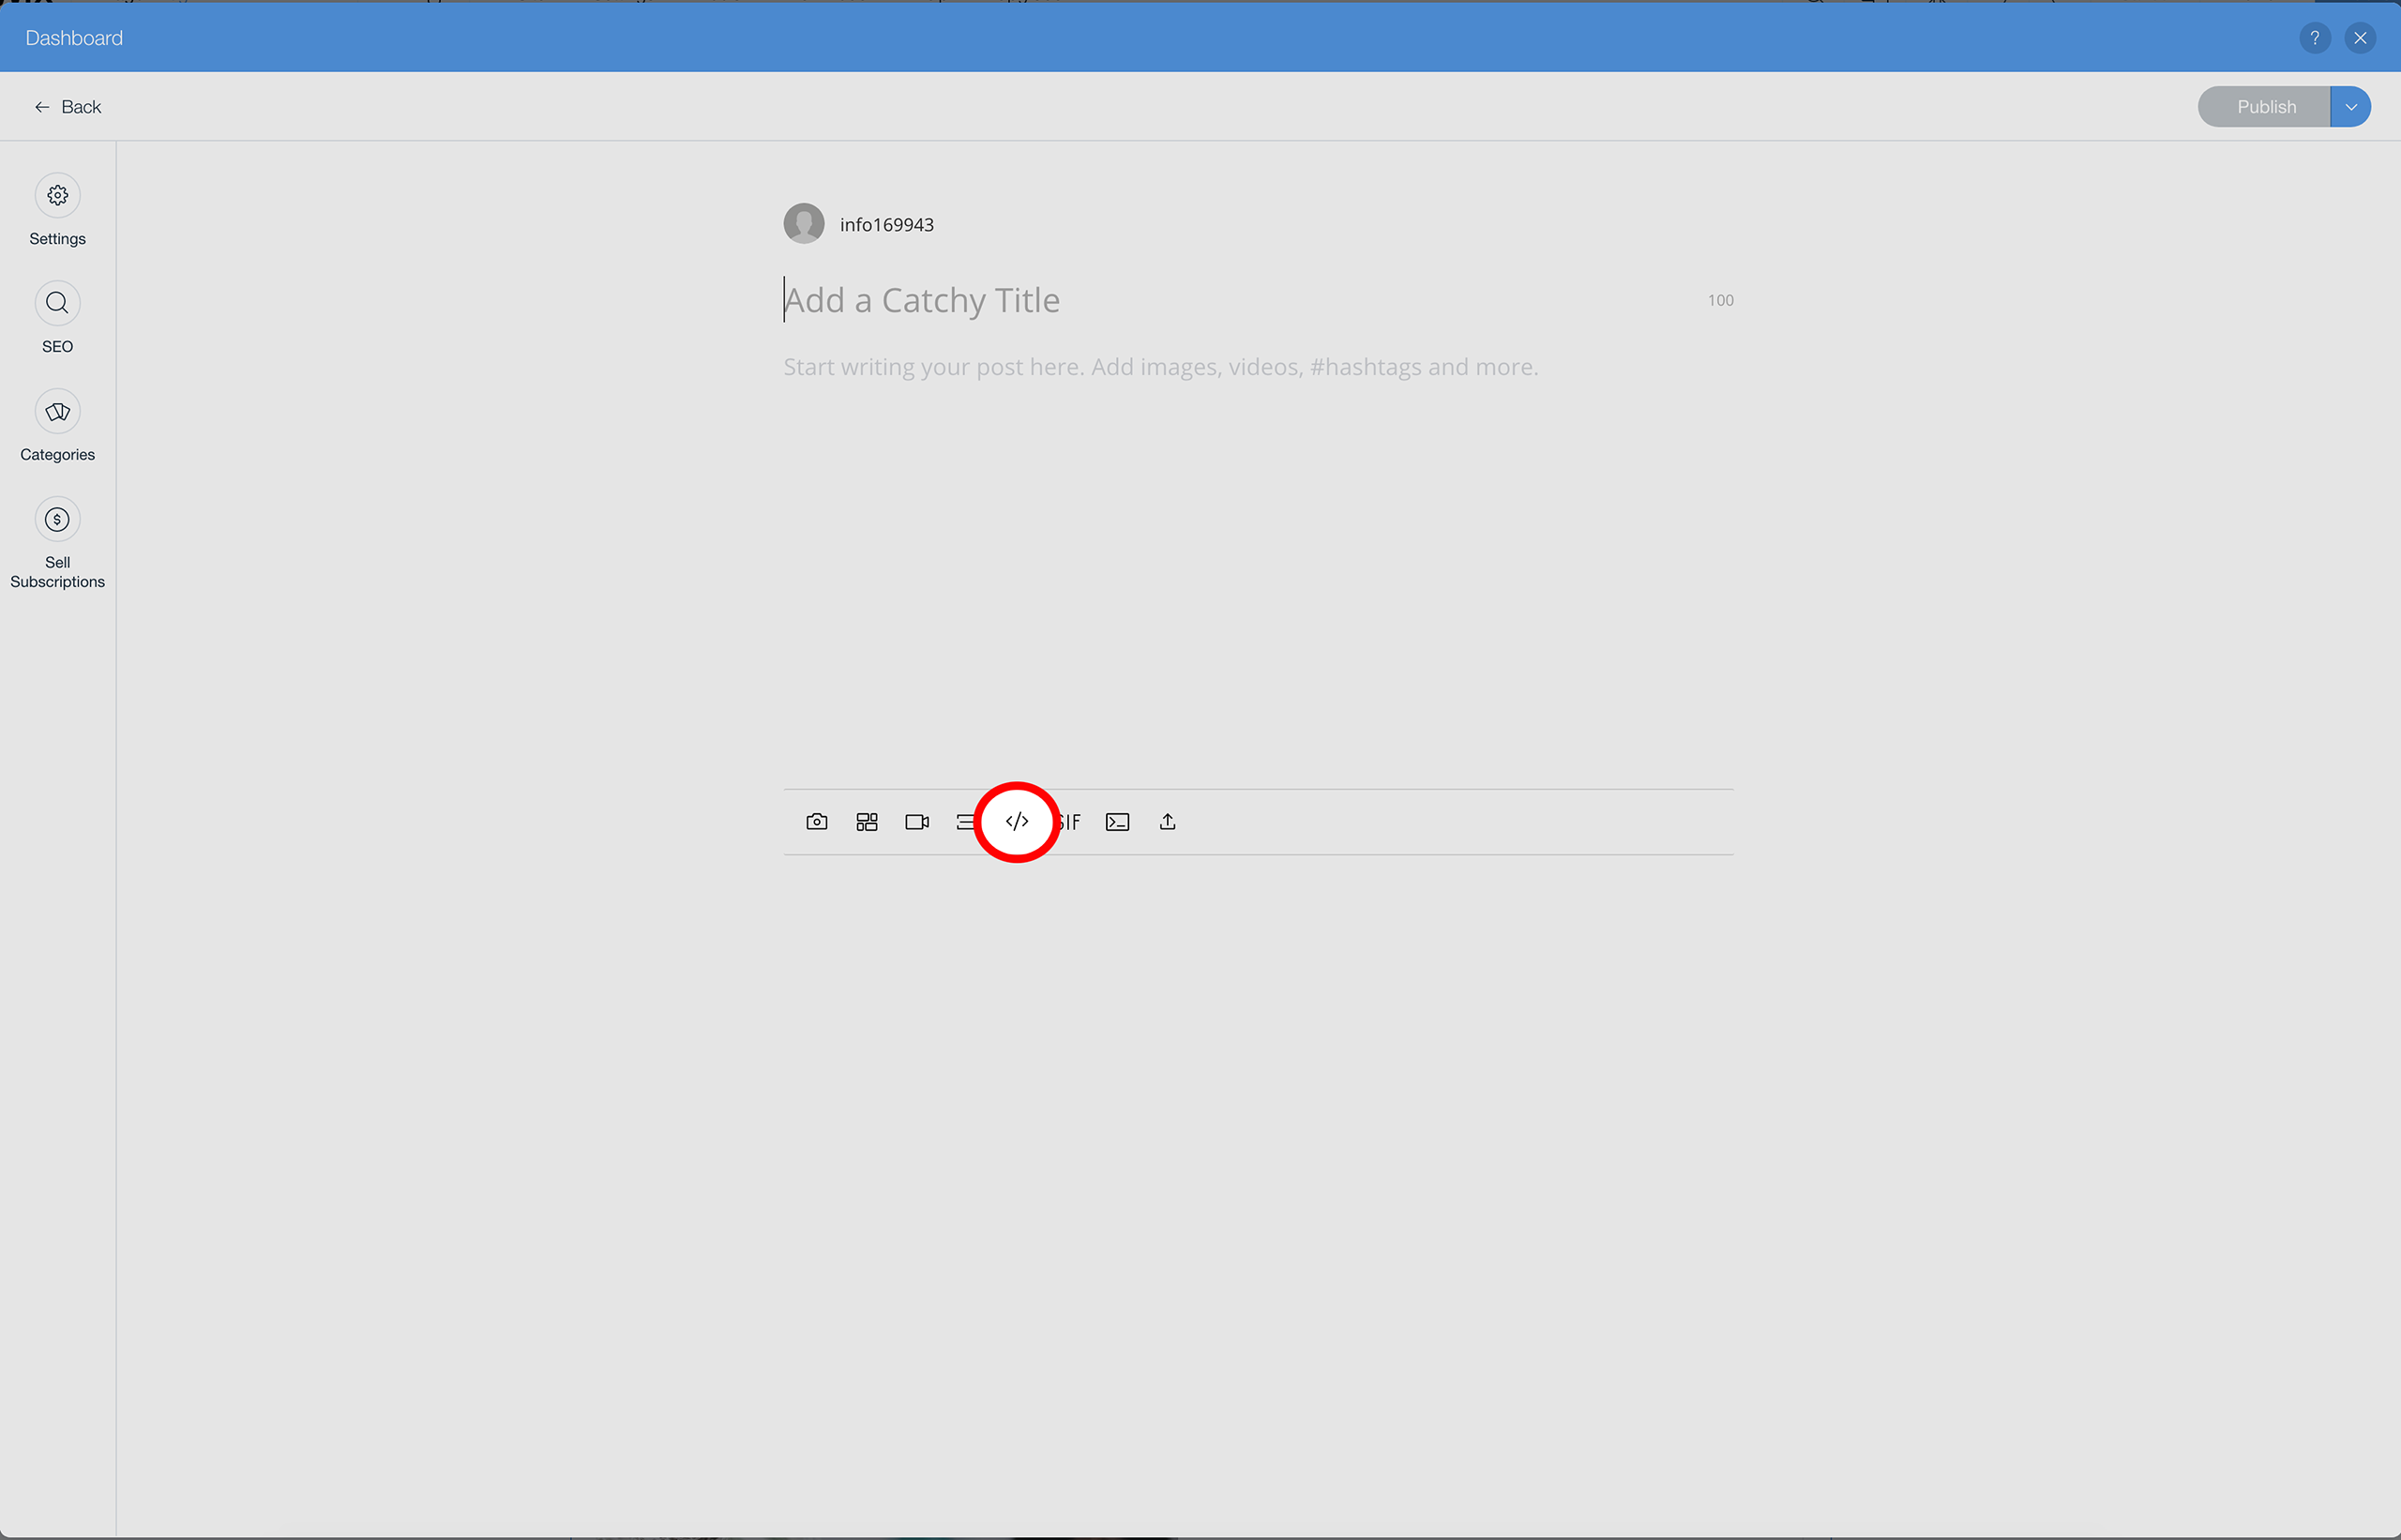
In Wix, create a new blog post and click the “code” ( </> ) button.
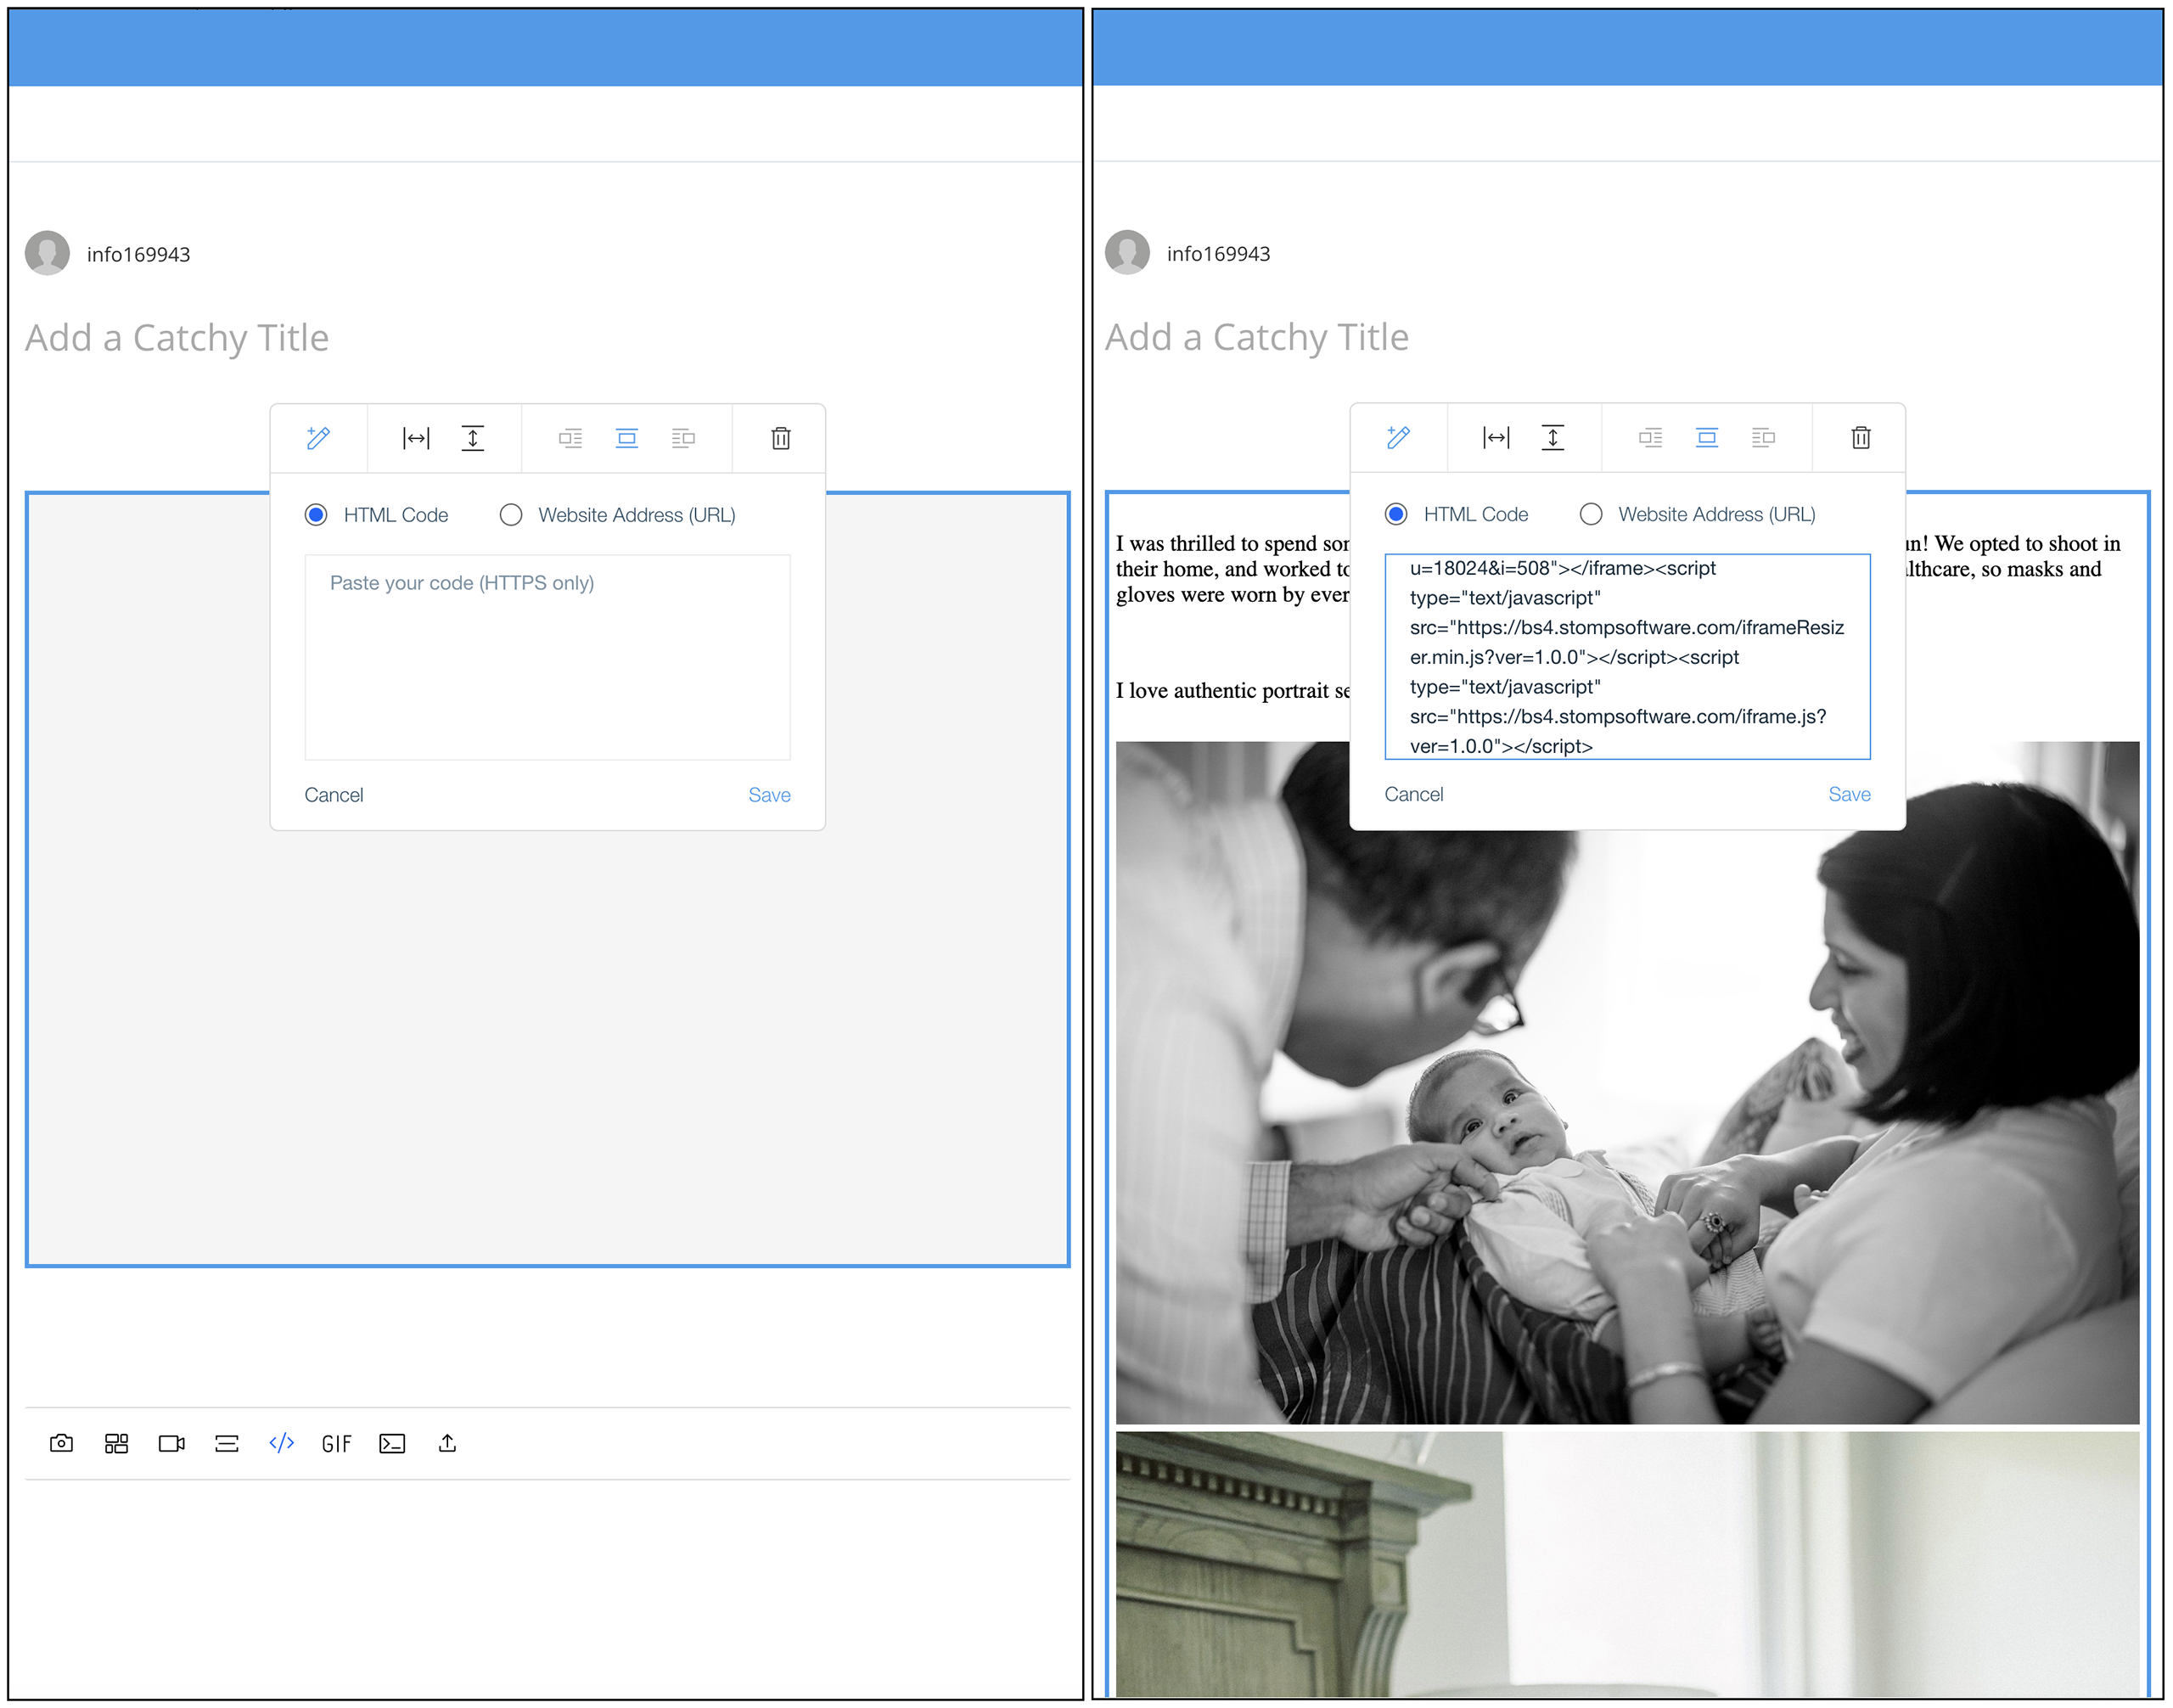
Paste in the code that Storytailor generated for you and click Save. From here you can preview and publish your blog post.
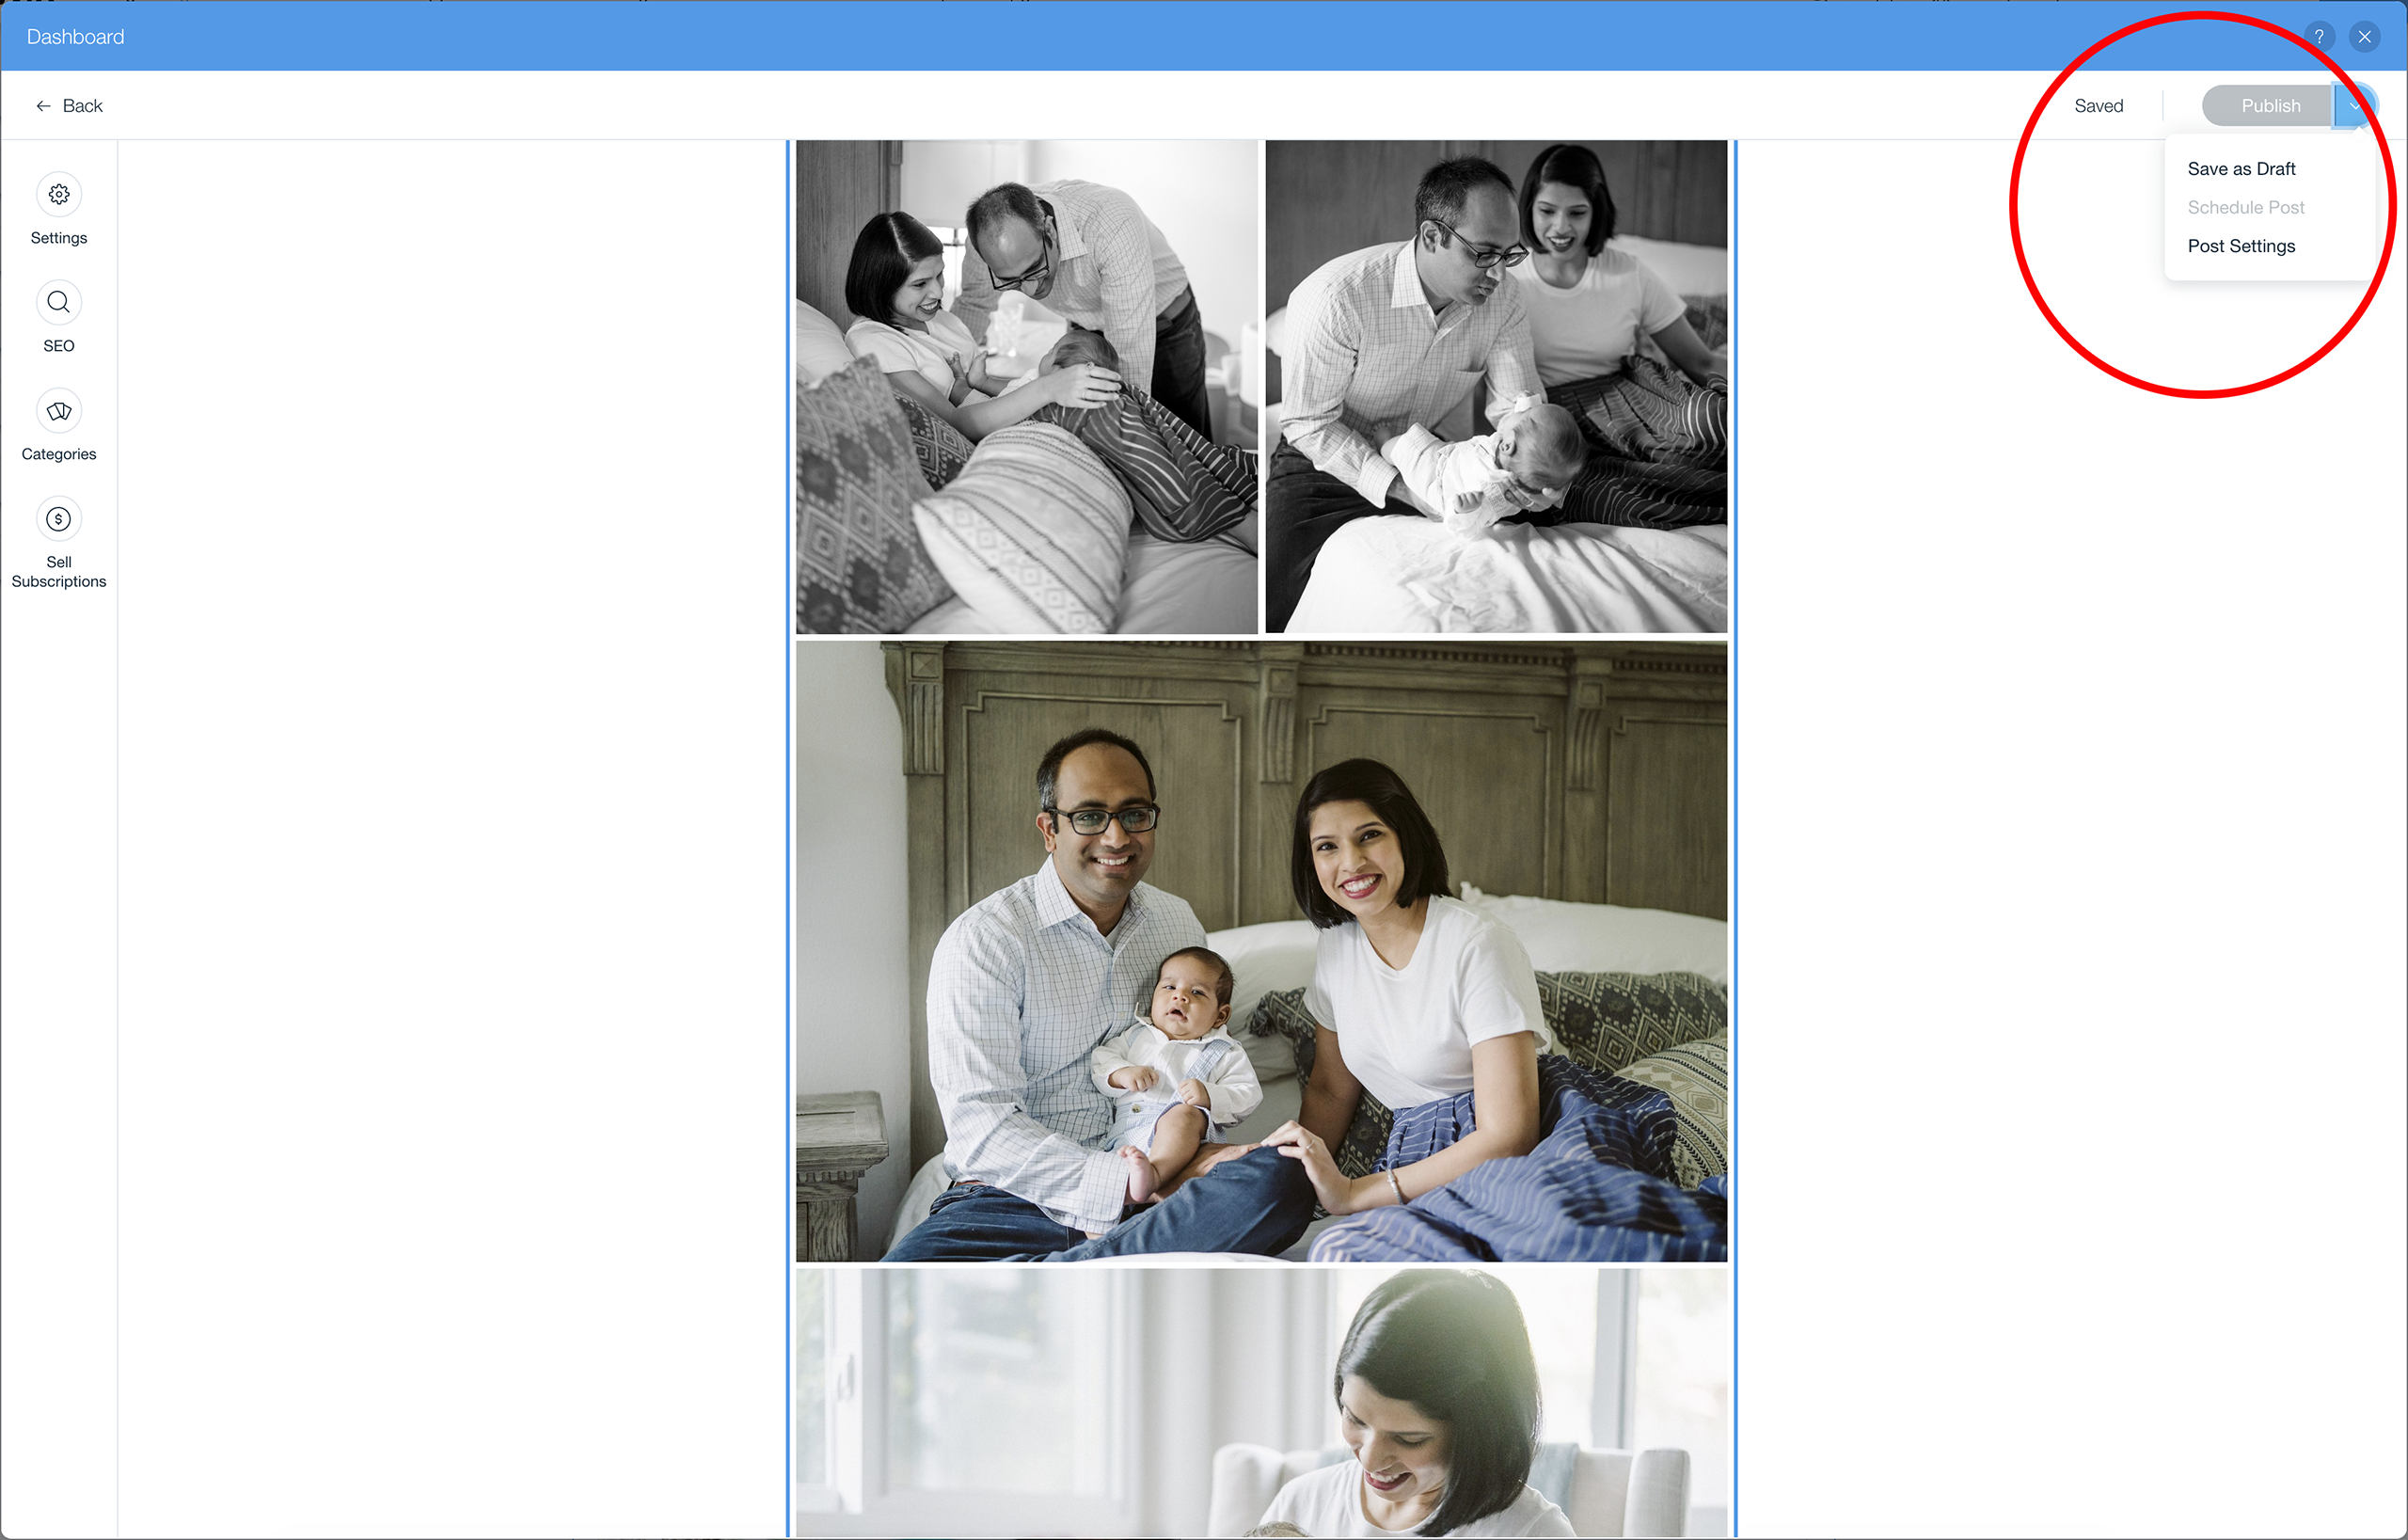
See your publishing options in the drop-down at the upper-right.
Other
In other types of blogs it’s similar — select Other from the options, then copy the provided code and paste it into a new blog post in your browser. That’s it!
