• Support
  • Account Sign In
  • Support
  • Account Sign In
home/Knowledge Base/Storytailor | Blog/Add a Logo in Collage and Batch

Add a Logo in Collage and Batch

1014 views 0

Click the “Edit” icon (looks like a pencil) next to the Styles drop-down menu in the upper-right corner. They Styles window will then open.

Click the ‘Browse’ button next to “Logo” and navigate to where your png logo lives on your computer and select it. It will appear exactly in the middle – centered horizontally and vertically.
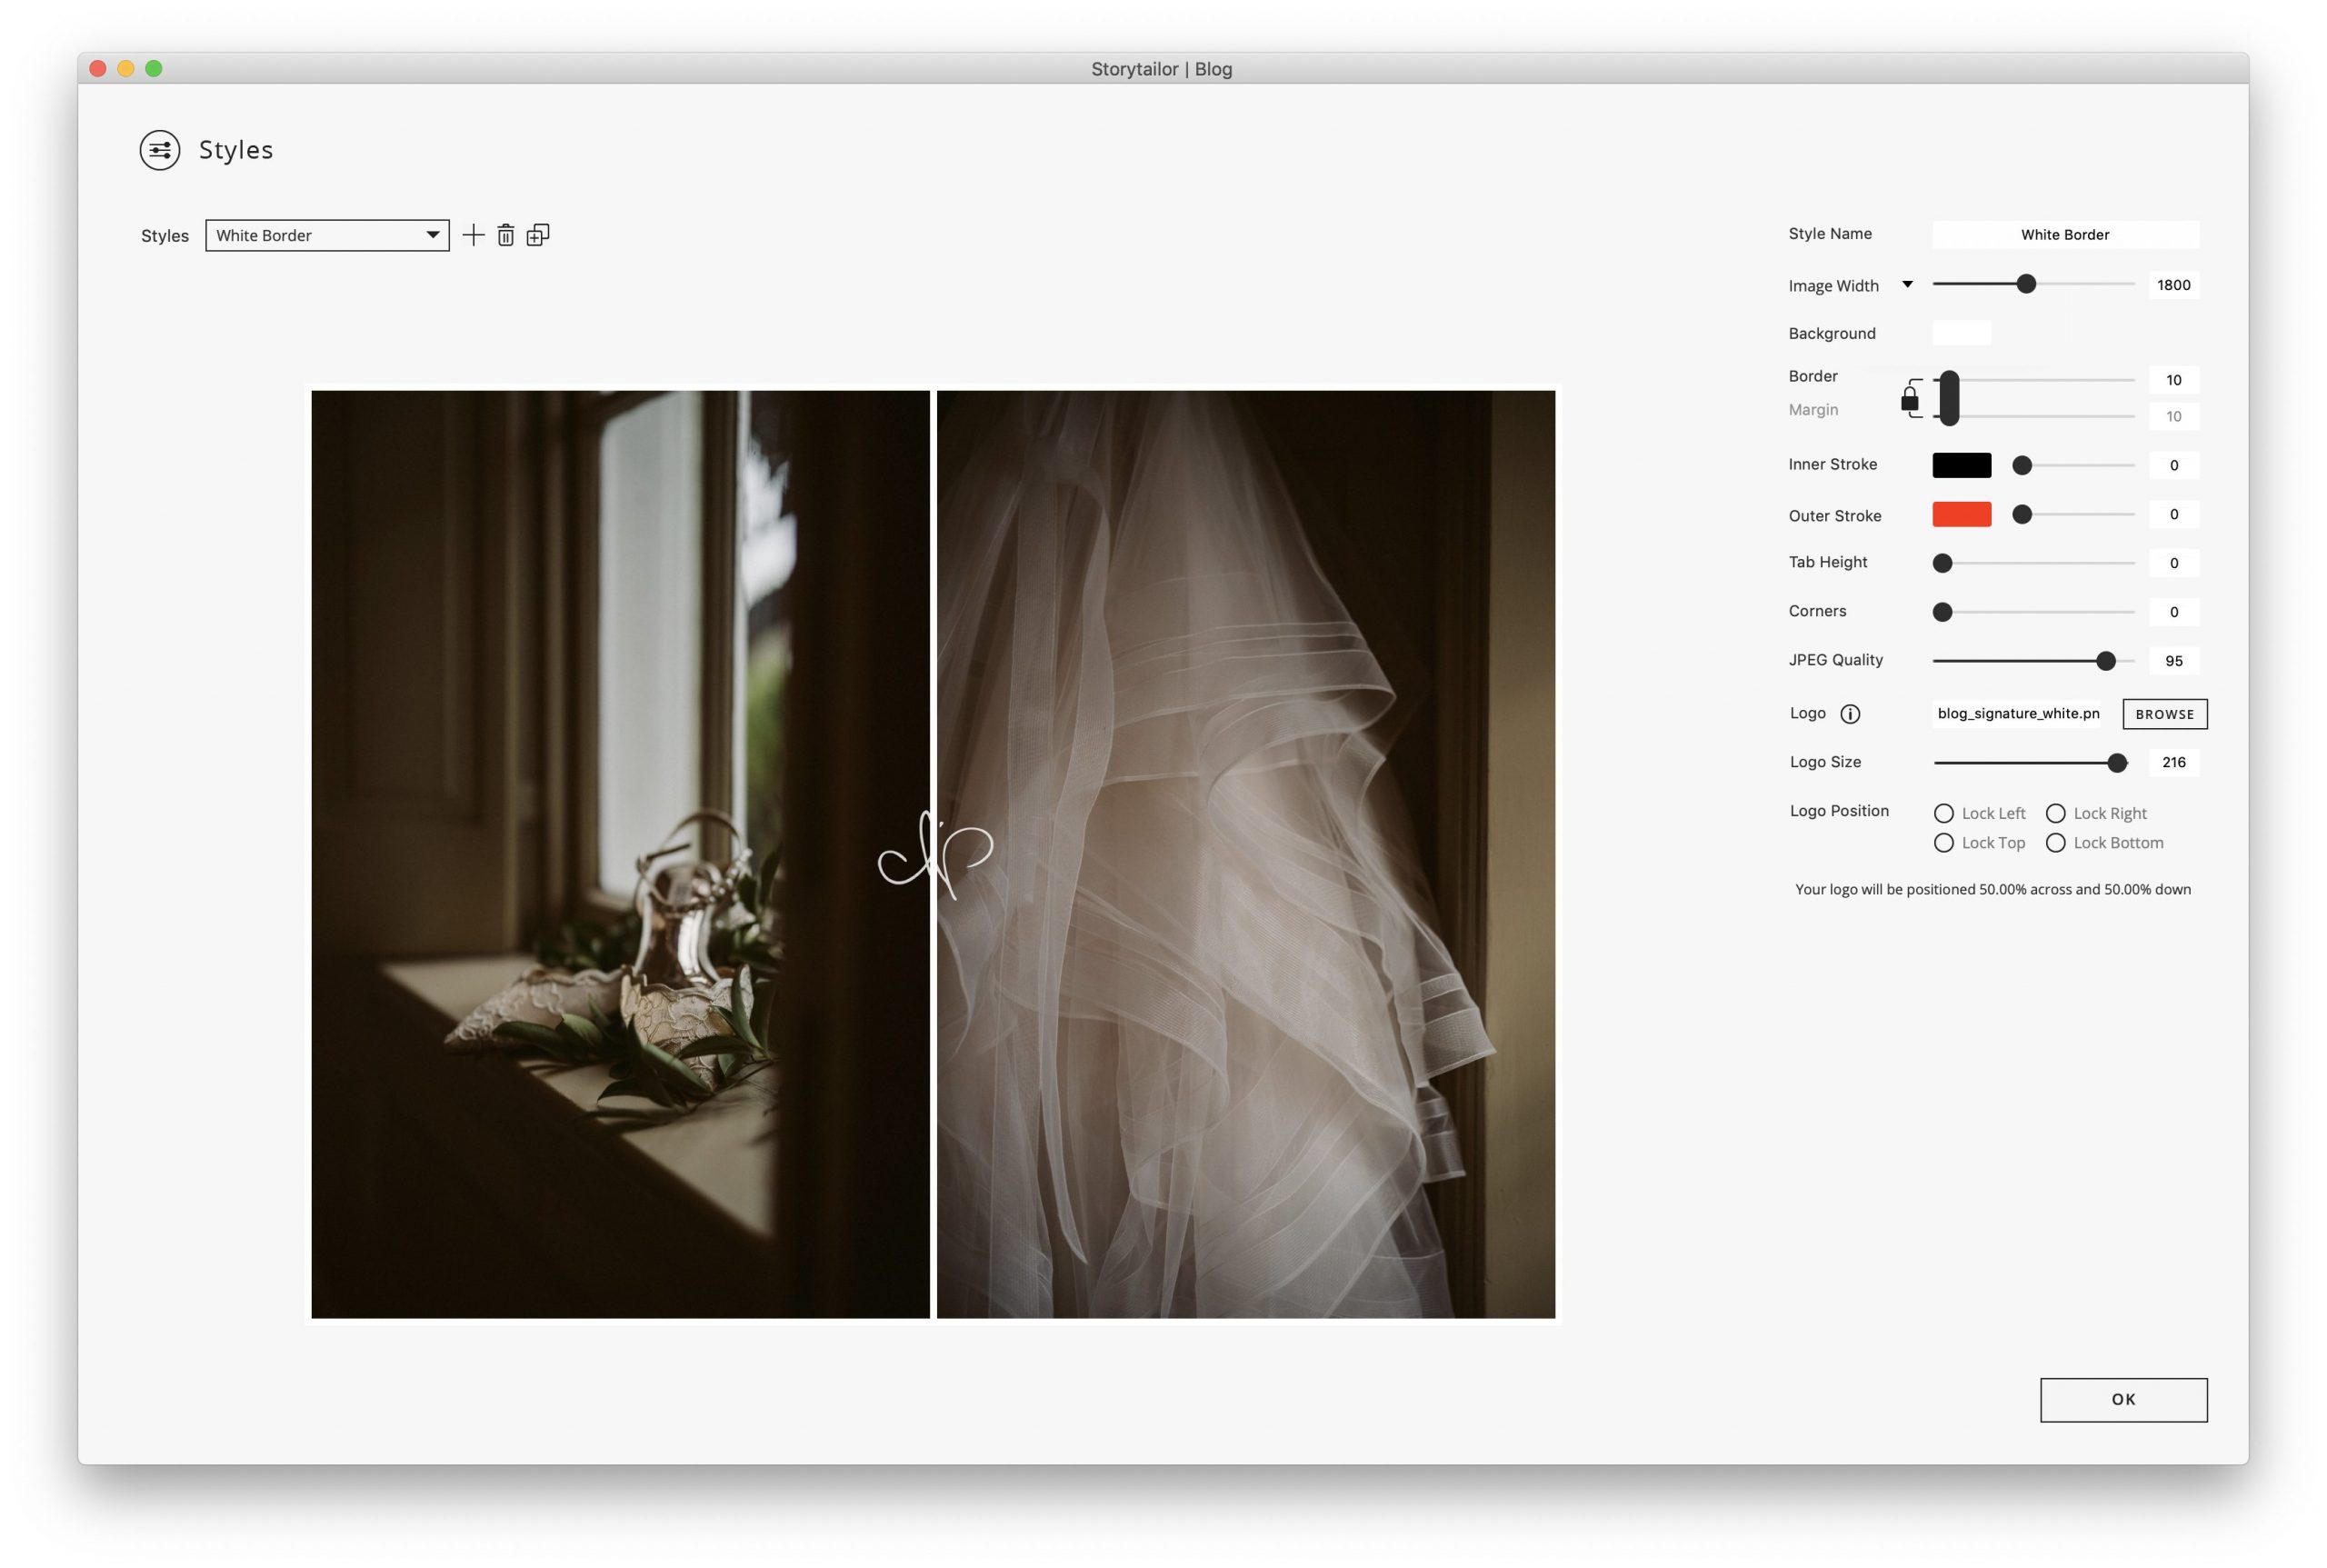
Click onto your logo and move it to where you would like it be placed.
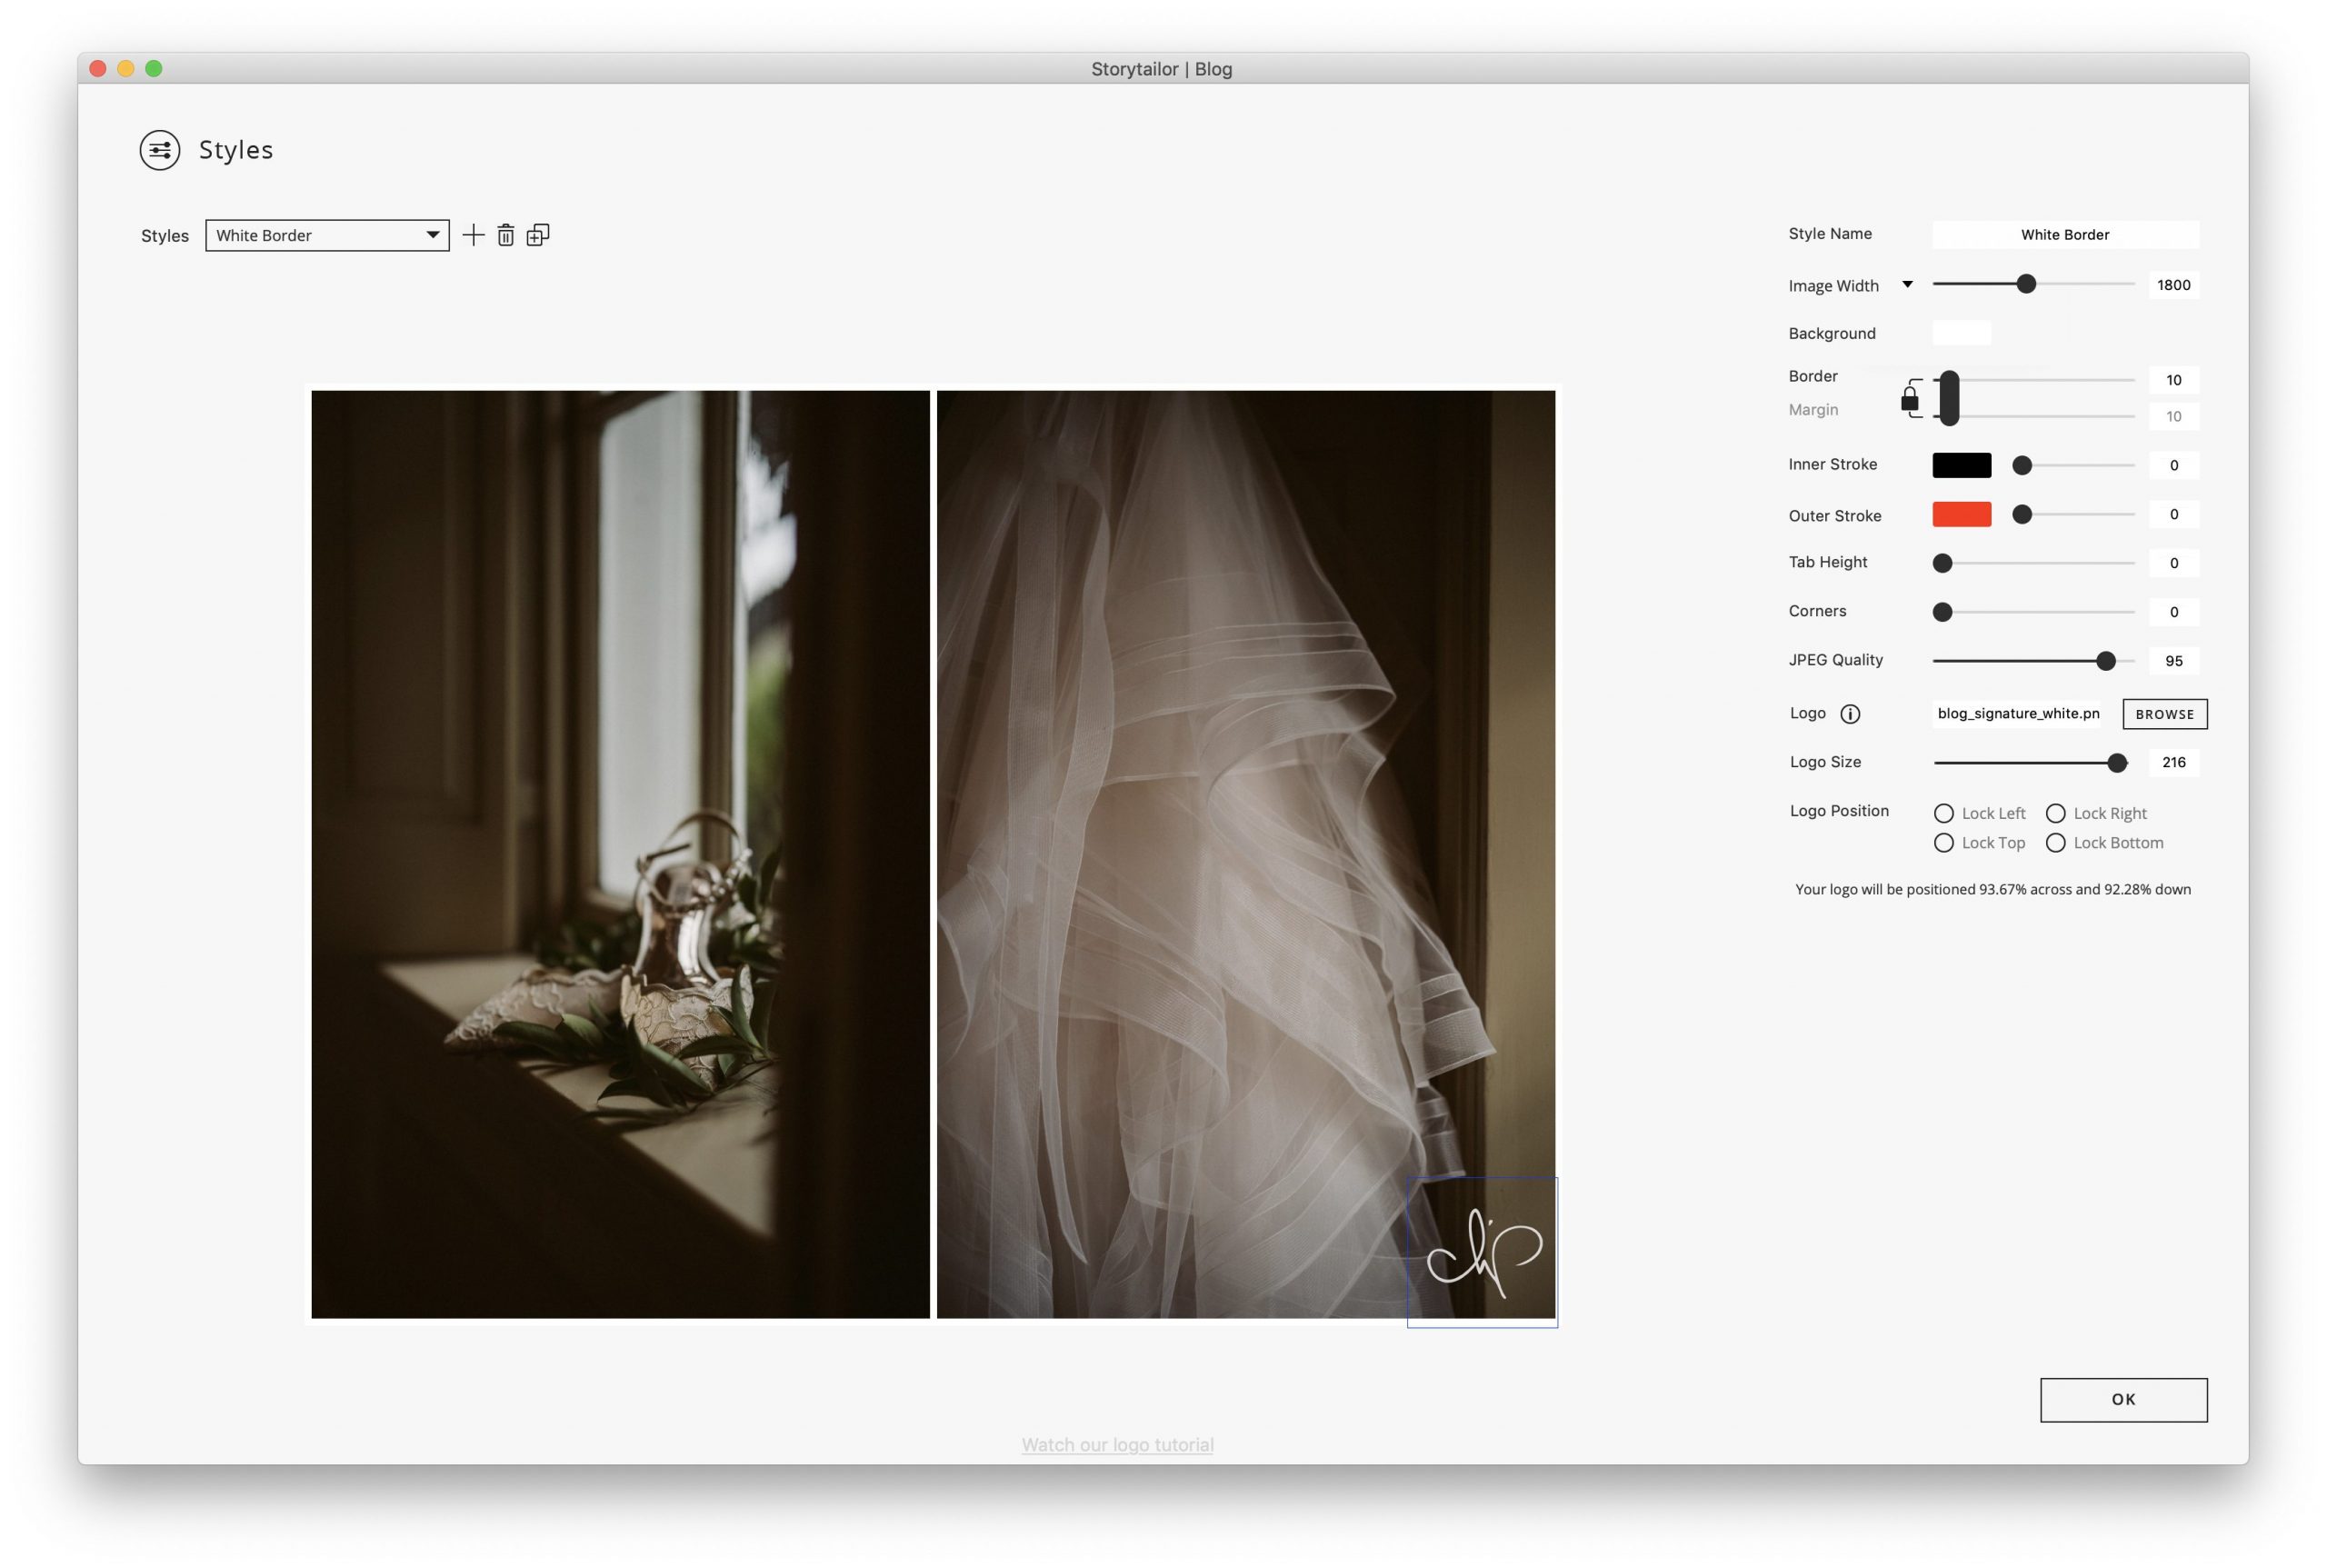
Once your logo is situated in the place you want it, use the “Lock” tick boxes so Storytailor will remember exactly where to place your logo, every time.
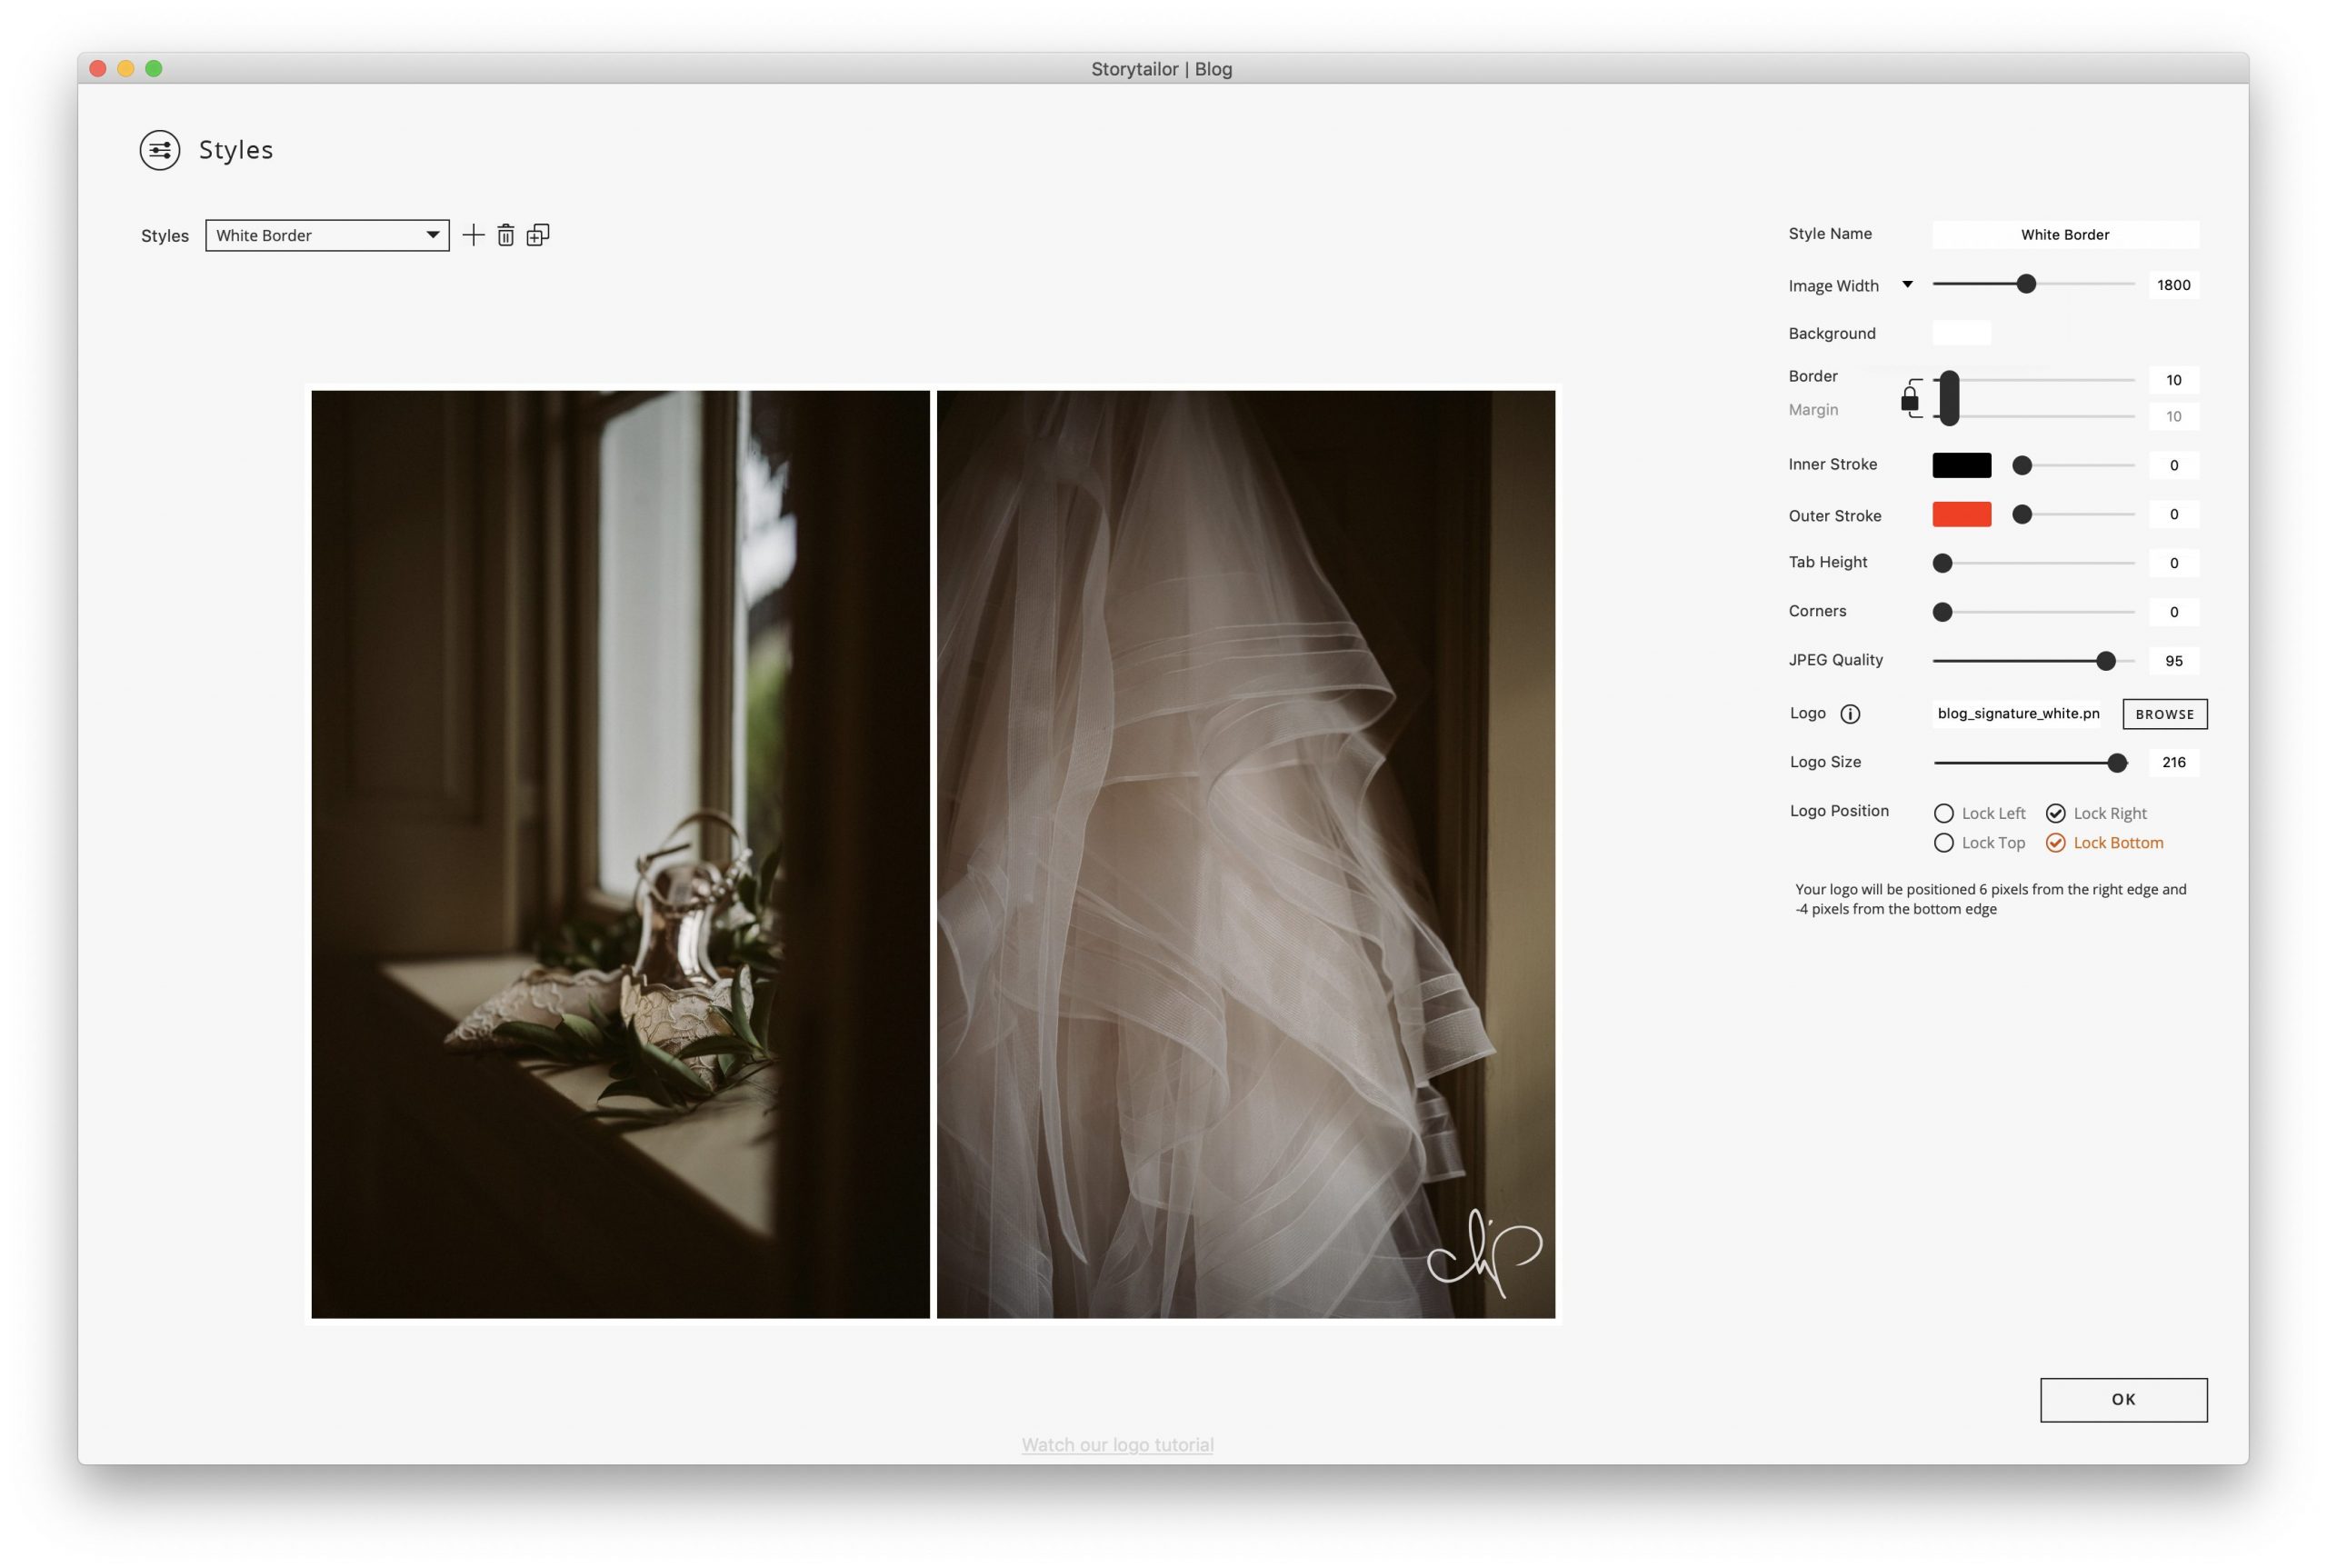
Remember to click ‘Ok!’ afterwards to save your Style, and then select that Style from your Styles drop-down menu.

Related Articles
  • Images not displaying in Google Images
  • Change the Background Colour of your Blog Post
  • Show It – Storytailor can’t upload directly to WordPress
  • Export a Blog Post as JPEG Images
  • Wix – Blog Post isn’t showing all my Images
  • Minimum System Requirements

Didn't find your answer? Contact Us

Leave A Comment Cancel reply

Storytailor | Blog
  • Add a Logo in Collage and Batch
  • Images not displaying in Google Images
  • Change the Background Colour of your Blog Post
  • Show It – Storytailor can’t upload directly to WordPress
  • Export a Blog Post as JPEG Images
  • Wix – Blog Post isn’t showing all my Images
View All 32  
Popular Articles
  • Storytailor Walk-Through Video
  • Our SEO Philosophy
  • Squarespace Setup for Storytailor
  • Customize Styles in Collage Mode
  • Publish Your Blog Post
KB Categories
  • Account Settings
  • Storytailor | Blog
  • StompSoftware
  • Extra Info

  Add Custom Web Fonts to Your Blog Post

© 2020 Storytailor
Contact Privacy Policy Cookie Policy Terms of Service