• Support
  • Account Sign In
  • Support
  • Account Sign In
home/Knowledge Base/Storytailor | Blog/Export a Blog Post as JPEG Images

Export a Blog Post as JPEG Images

440 views 0

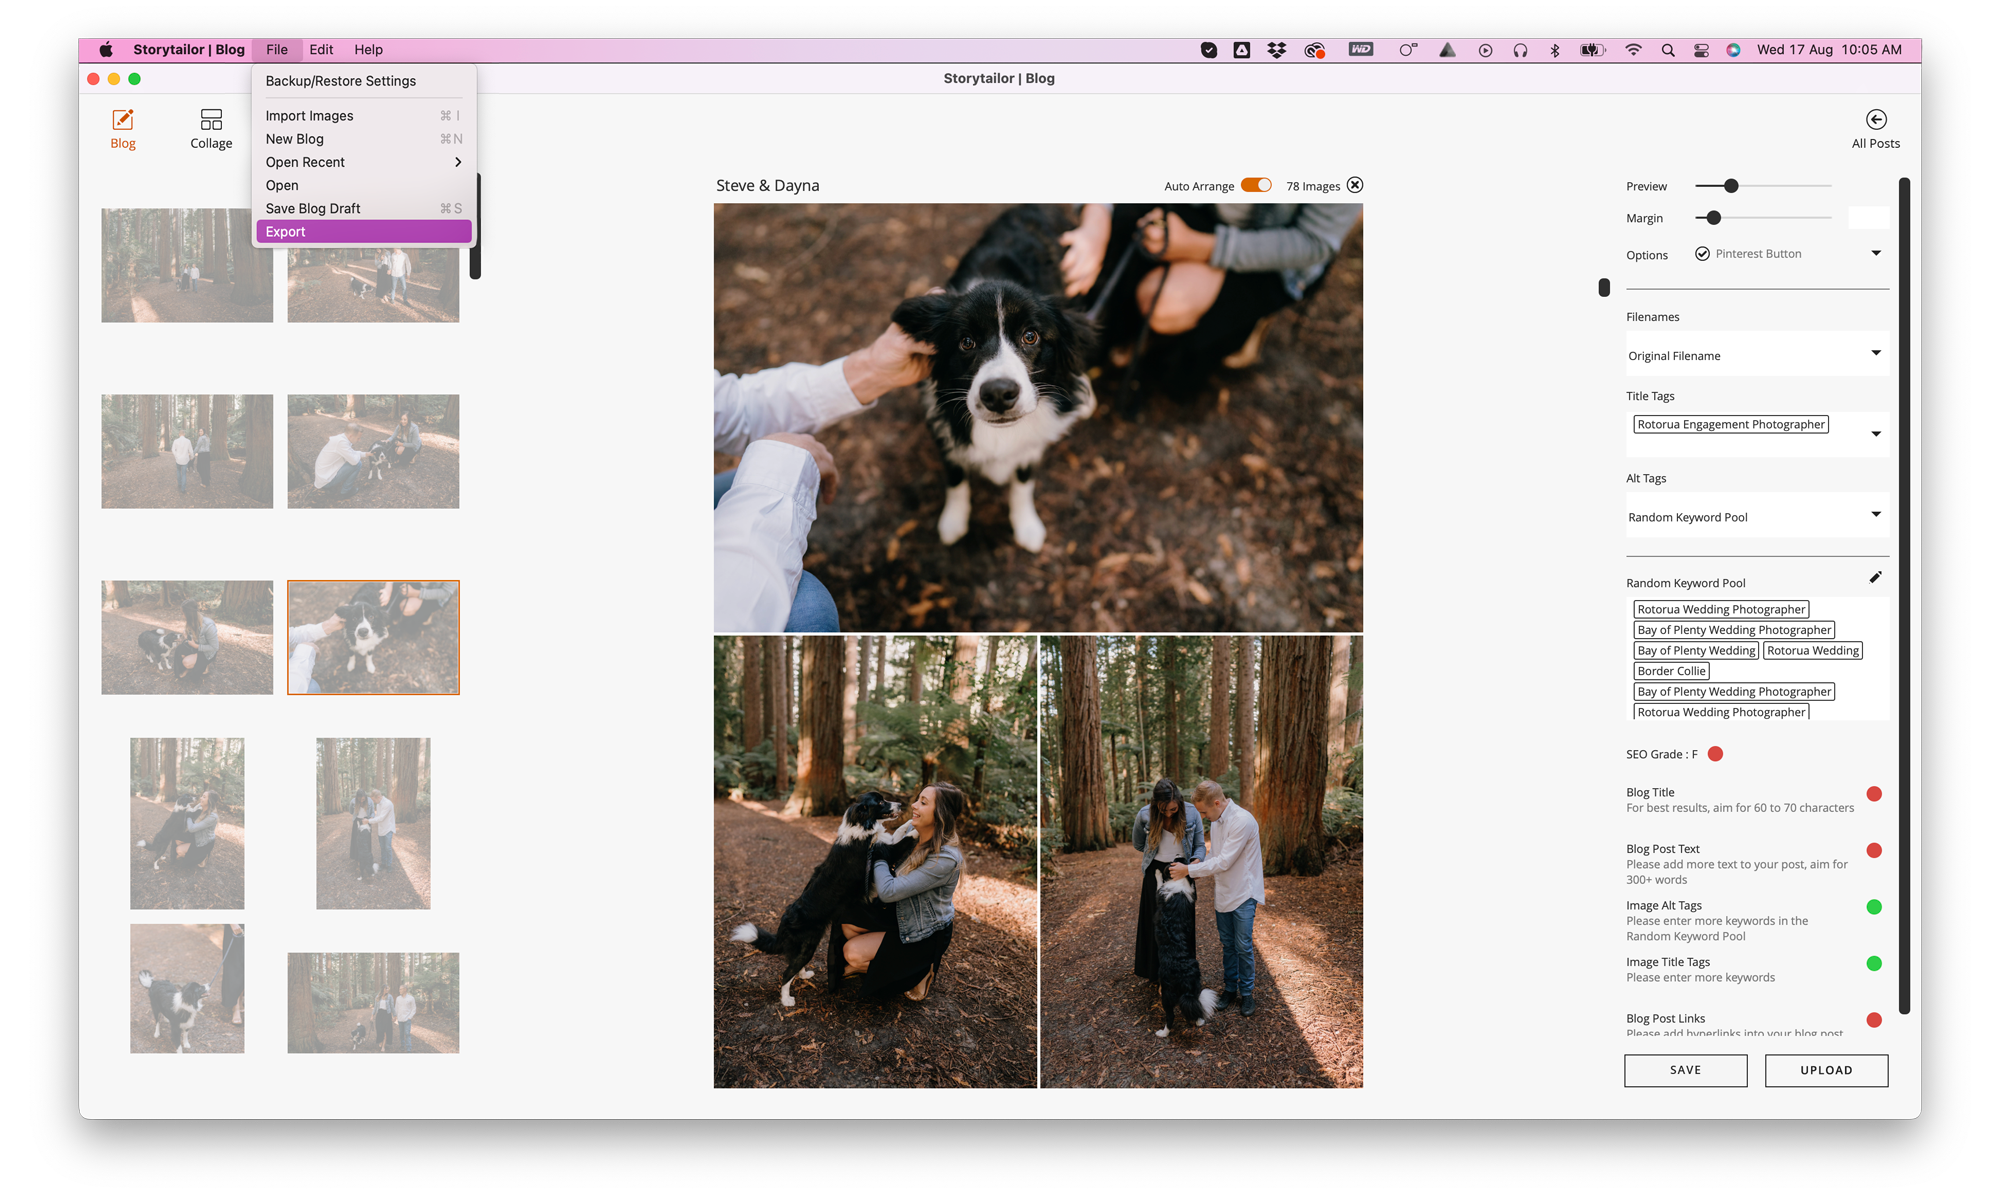
To export your blog post as row by row jpeg images create your blog post and save it. Then go to File > Export.

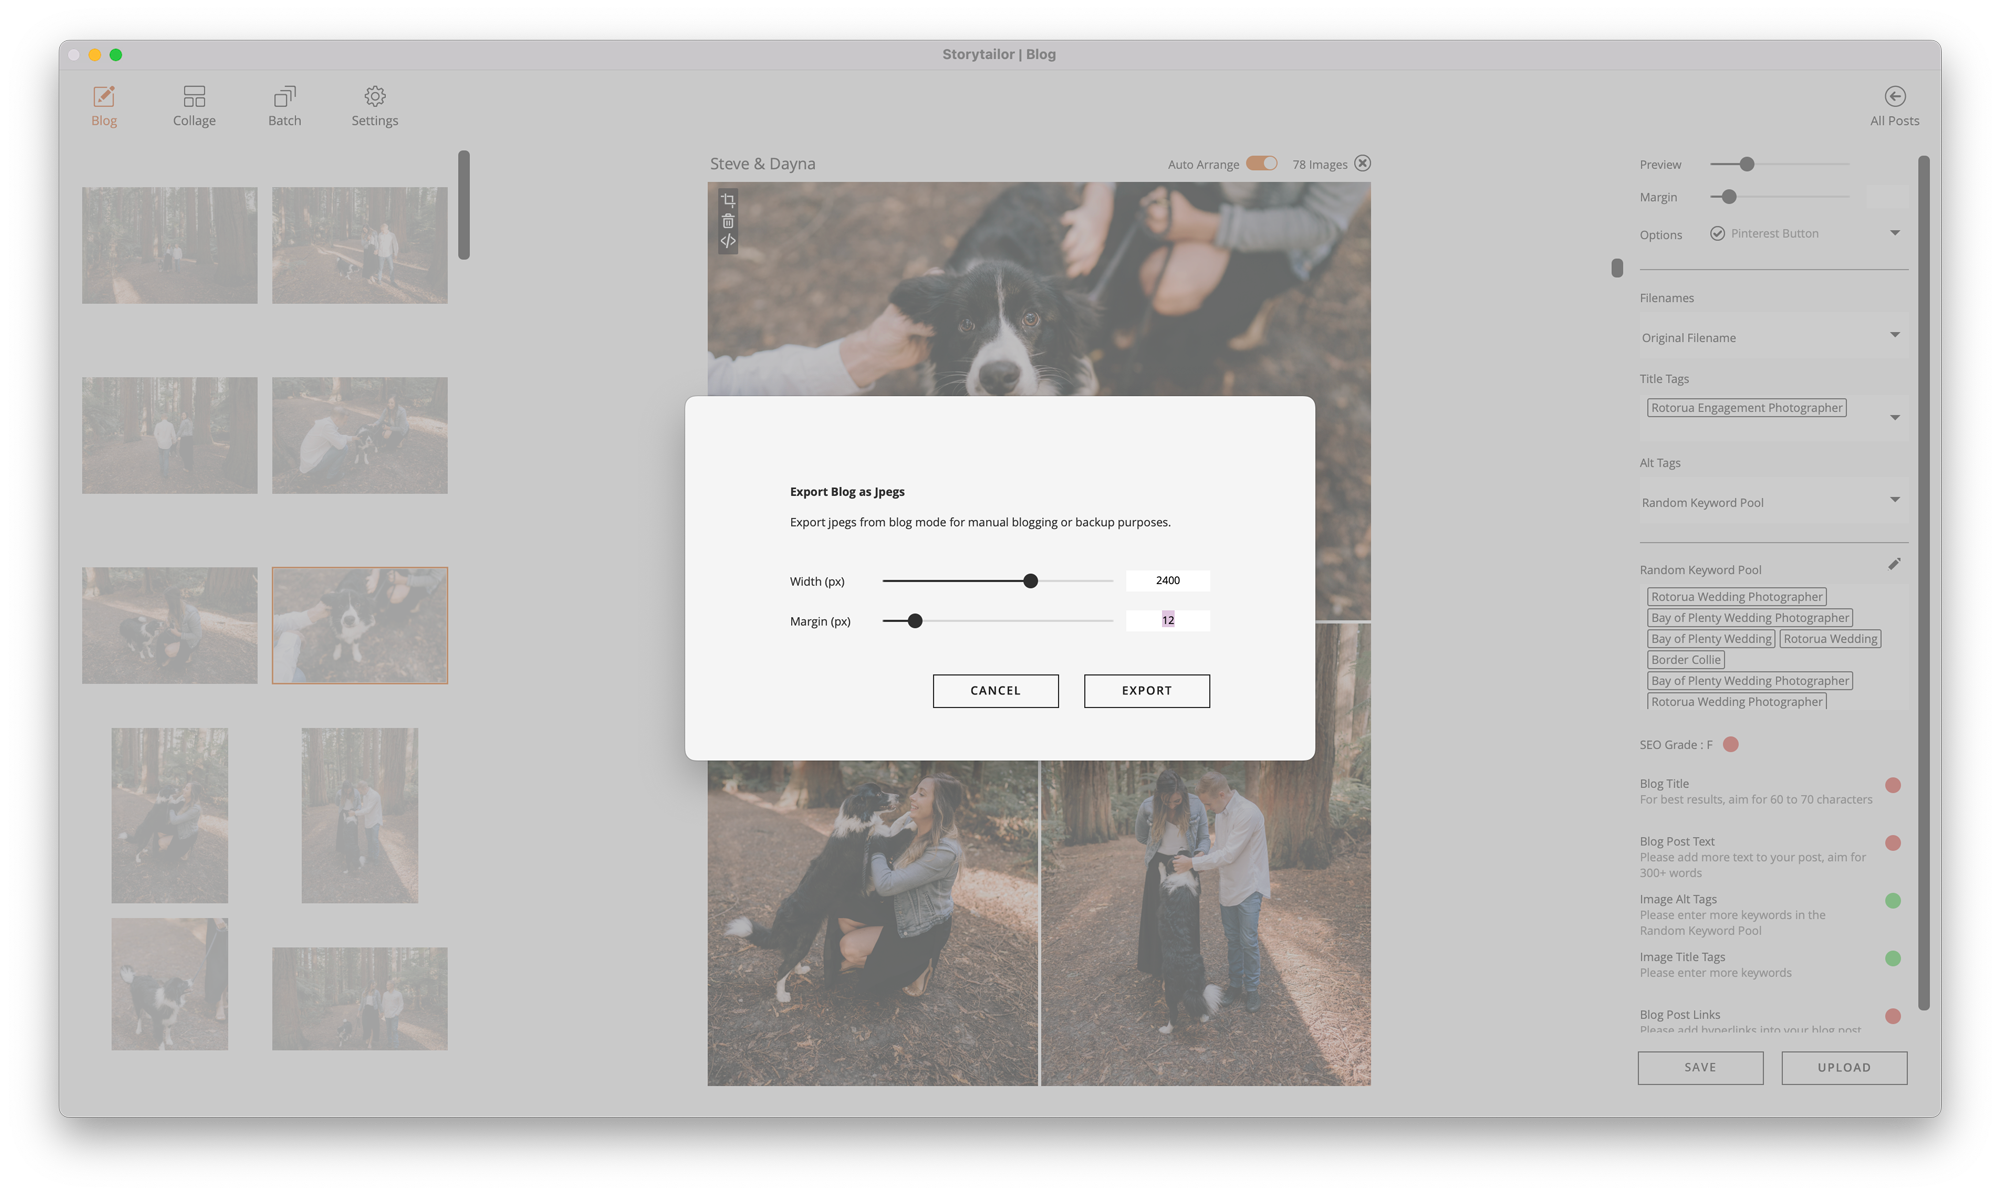
Set your Image Width (we recommend your blog width x2 then it will look good on retina screens, a typical size is between 2000px and 2500px) and your margin width. The click Export.

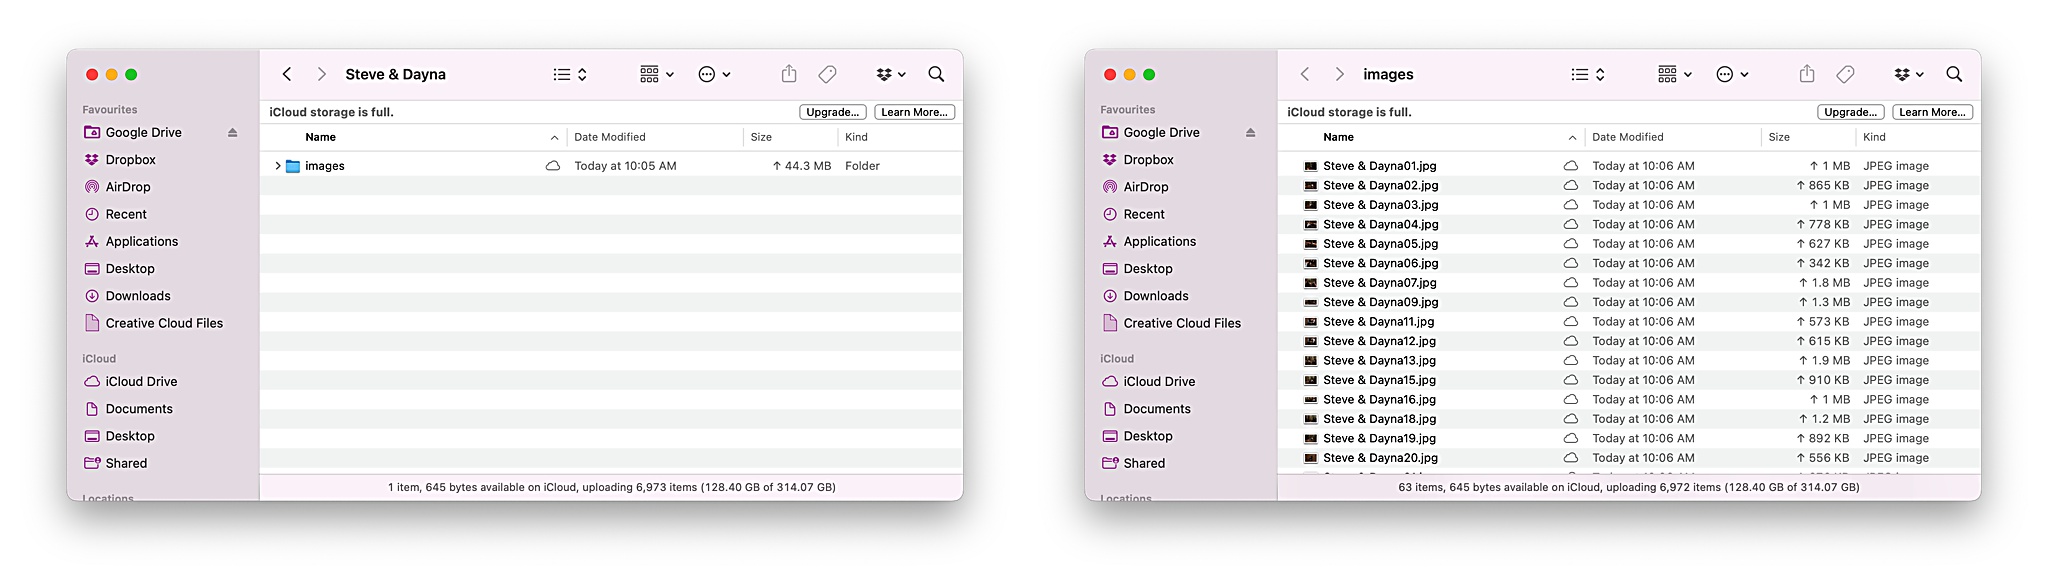
Storytailor will export Row by Row JPEGs of your blog post. They’ll be saved to your Desktop in a folder named after your blog post. Inside that folder, it will have a folder called “images” and your JPEGS will be there.

Then all you need to do is upload them to your blog or social media.

Related Articles
  • Images not displaying in Google Images
  • Change the Background Colour of your Blog Post
  • Show It – Storytailor can’t upload directly to WordPress
  • Wix – Blog Post isn’t showing all my Images
  • Minimum System Requirements
  • Using GIFs in Storytailor

Didn't find your answer? Contact Us

Leave A Comment Cancel reply

Storytailor | Blog
  • Export a Blog Post as JPEG Images
  • Images not displaying in Google Images
  • Change the Background Colour of your Blog Post
  • Show It – Storytailor can’t upload directly to WordPress
  • Wix – Blog Post isn’t showing all my Images
  • Minimum System Requirements
View All 32  
Popular Articles
  • Storytailor Walk-Through Video
  • Our SEO Philosophy
  • Squarespace Setup for Storytailor
  • Customize Styles in Collage Mode
  • Publish Your Blog Post
KB Categories
  • Account Settings
  • Storytailor | Blog
  • StompSoftware
  • Extra Info

  Export for Print

Customize Styles in Collage Mode  

© 2020 Storytailor
Contact Privacy Policy Cookie Policy Terms of Service